Author: Trent M.
There are a lot of install videos and instructions out there for an AR-15 trigger. However, many don’t have nearly enough detail for such an important component of the AR15. Most instructions are only 10 steps. Don’t get me wrong, an AR-15 trigger is pretty simple to install. But I remember my first time, and it took way longer than it should. This guide will show you how to install a 2 stage AR-15 trigger, but the process is broadly applicable for single stage triggers as well. First, let’s talk about the kinds of triggers you’ll find on the market.
There are your typical fire control groups that come in single stage and two stage. There are also drop in triggers, which have all of the components in a cassette that you literally drop into the lower, install a trigger and hammer pin, and you’re done. While they are simple quality triggers, if a piece of the trigger breaks out in the field, repairing it with replacement parts is not simple. A typical fire control group can have one piece break, but it can be easily replaced with another individual part.
I like to have an AT3 MOTHERFU-BAG lost parts kit on hand. It has replacement detents, pins, trigger springs, and other replacement components for both AR-15 upper and lower receivers. I appreciate the inclusion of a band aid. For those small scale screw ups, AT3 also offers a FU-BAG. It is definitely helpful when a part either breaks, or gets lost during install. Detent springs can launch pieces pretty far. Tip #1: protective eyewear!
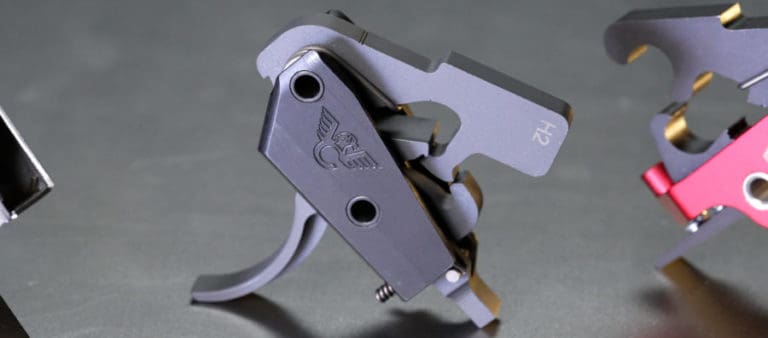
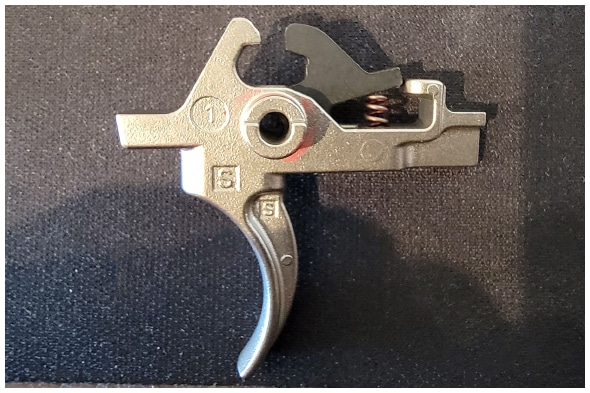
During this install, we are going to use the AT3 Tactical 2 Stage Trigger Assembly by 1005 Tactical. This trigger came to me partially built in 4 pieces: the hammer group, the trigger group, and 2 pins. This makes install easy. But, to exercise that brain and know how to install each trigger part, I have broken the trigger down to individual pieces.
2 Stage AR-15 Trigger Group Parts

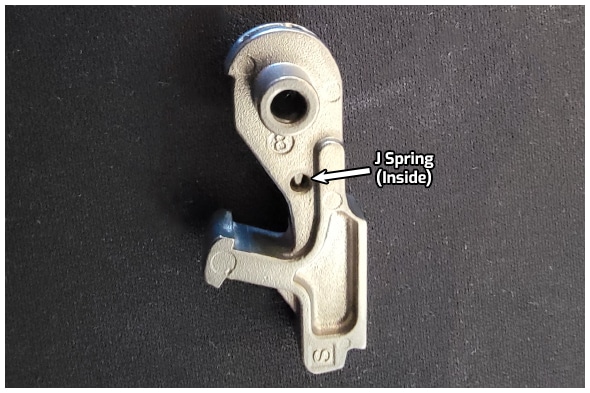
Figure 1 above has a breakdown of all the parts in the 2 stage trigger group. The hammer looks slightly different than a normal mil spec hammer due to the 2 stage design. You will notice that the hammer and triggers springs, along with the pins are exactly the same. These are interchangeable with mil-spec style components. Some kits have pins with three notches, and some have two like above. The middle notch is for that J spring that sits inside the middle of the hammer (Figure 2). The J spring does not have to be installed by you. The outside notch is where part of the hammer spring will rest on.
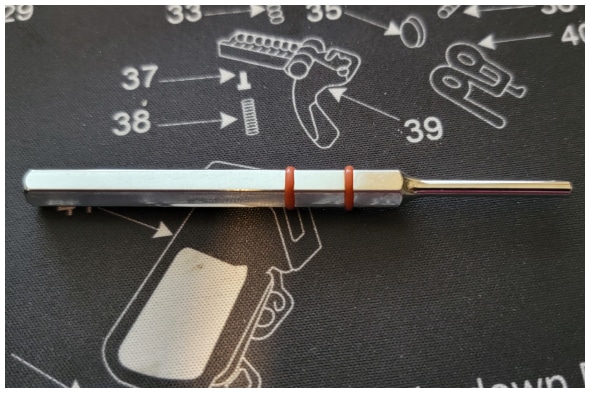
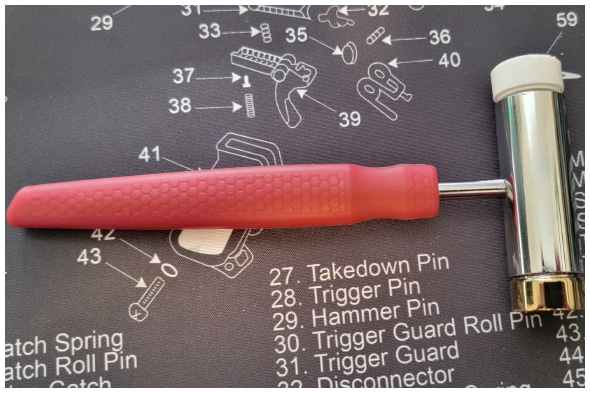
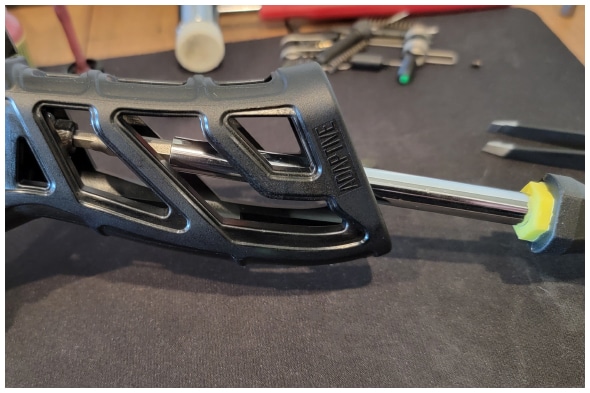
Now, there may be some tools that you’ll need. This AT3 trigger really doesn’t need any specialized tools. For ease of install, it would be helpful to have a pin punch (Figure 3) in case you are removing an existing trigger. A non-marring hammer (Figure 4) can help with sticky pins. A good moly grease for the sear friction point helps with a cleaner trigger break. Finally, a high quality gun oil for a touch of lubrication where needed. A gun mat is helpful to prevent marring of your lower receiver; it’s not necessary, but may be preferred. A lower receiver block can make install easier by securing the lower and freeing up your hands, but isn’t necessary either.
Installing the Trigger
1. If you are working on replacing a trigger, make sure the rifle is unloaded and safe. If you’re using a new stripped lower, congrats! You’re safe.
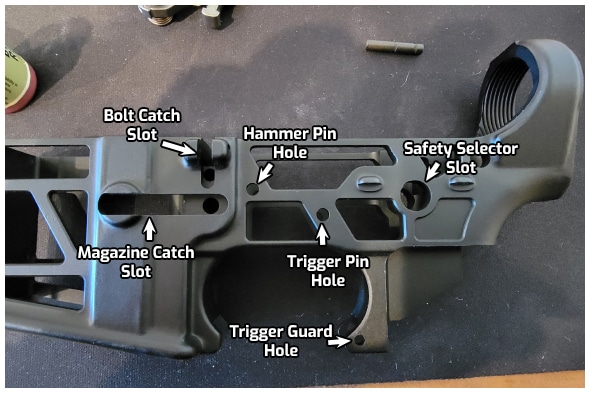
2. Remove the existing trigger by punching out the hammer and trigger pins. Removal of the safety is not necessary.
3. Grab your lower receiver and fire control group. The as stated, this 2-stage trigger from AT3 came with all of its pins and springs. If you’re working with a lower parts kit, ensure you have everything you need before you begin.
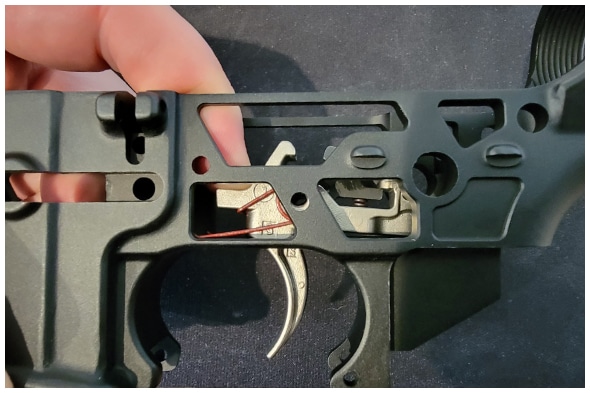
4. Take your trigger and disconnector spring. Insert the spring into the trigger (Figure 6). If you have a spring with one wide end, the wide portion goes into the hole on the trigger.
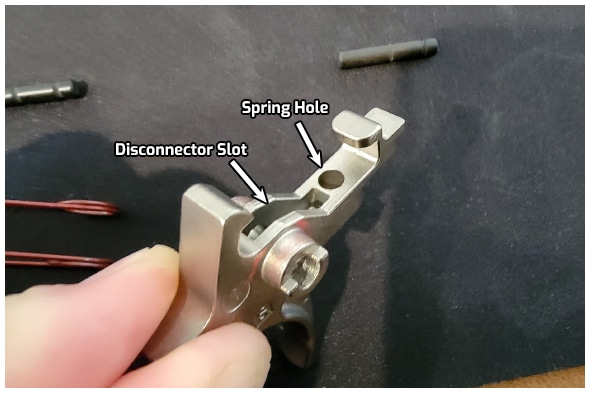
5. Next, take your disconnector and slide it into the middle of the trigger (Figure 7A). Finally, push down on the back portion of the disconnector until it depresses the spring and stays under the metal lip (Figure 7B). Note: Single stage triggers will just sit on top of the spring.

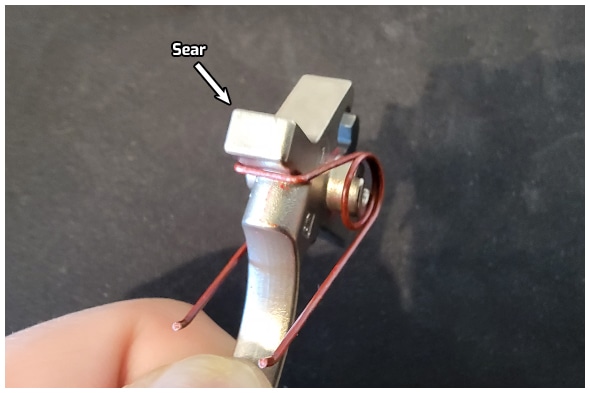
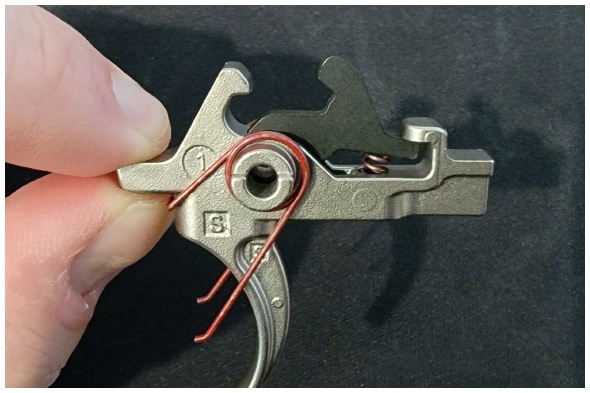
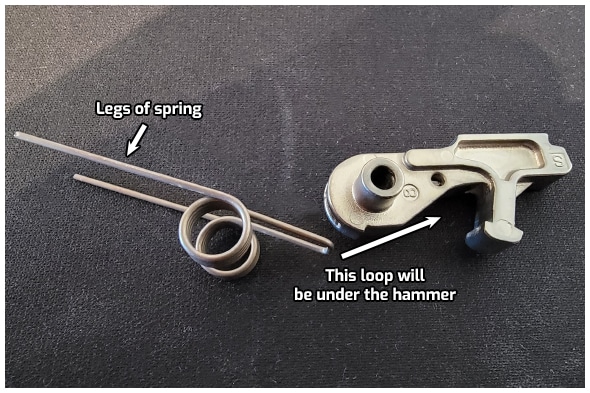
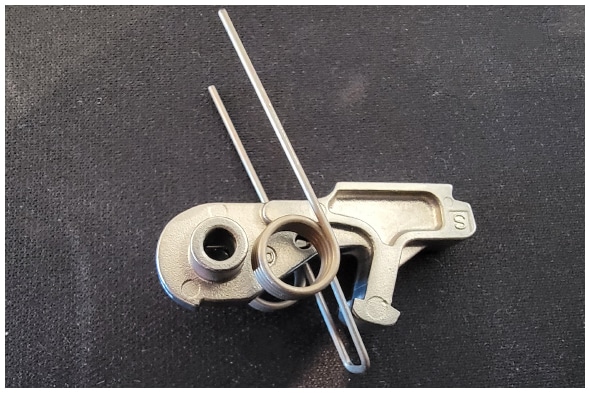
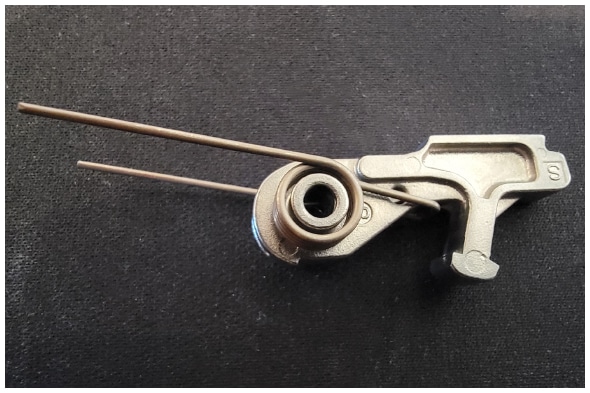
6. Take your trigger and trigger spring. Place one of the loops on each side of the trigger, with the squared off portion of the spring in front and under the sear (Figure 8). The legs of the spring should be facing toward the muzzle. The spring orientation should be identical to Figure 9.
7. Grab your hammer and hammer spring. The spring should be in the orientation as seen below in Figure 10. The hammer spring is going to wrap around the hammer just like you previously did for the trigger (Figure 11). The spring legs will point towards the muzzle (Figure 12).
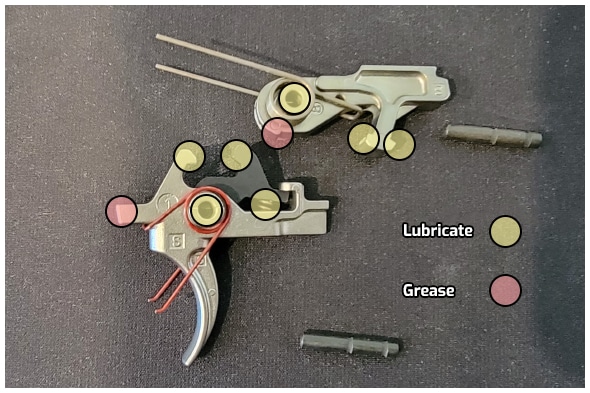
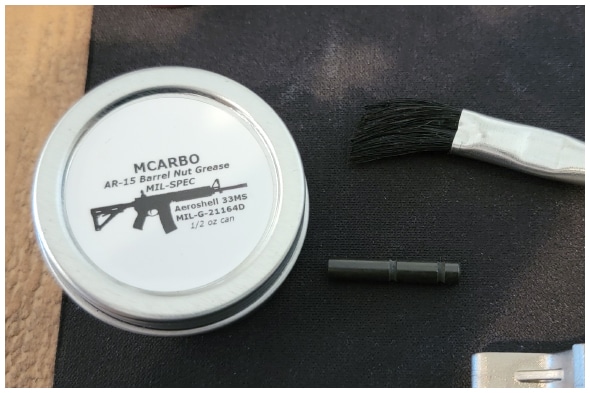
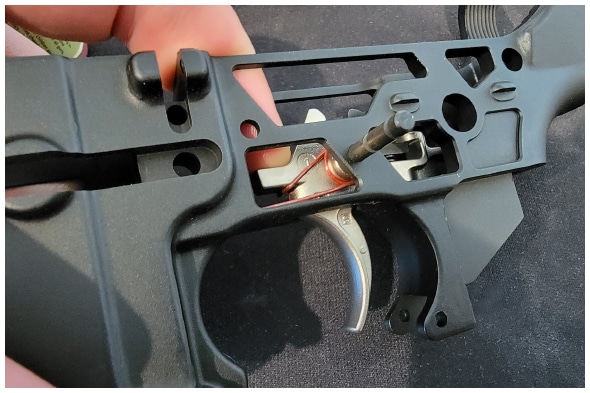
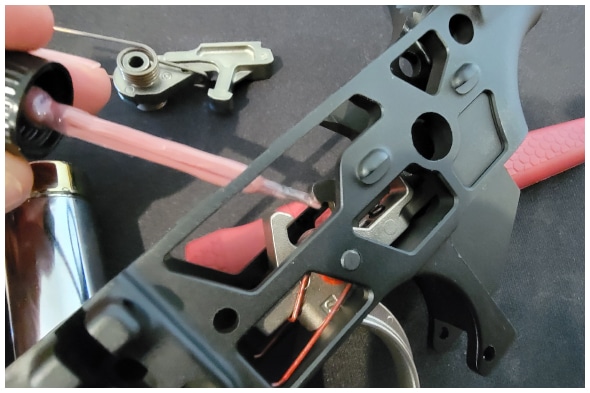
8. Now that you have the hammer and trigger assembled, you will want to lubricate each piece and put grease on the contact point of the sear. The two stage sear location really doesn’t act as a traditional sear, but it does make contact. See Figure 13 and below for lubrication points. Figure 14 is an example of the grease used during this install: mil-spec Aeroshell 33MS. But most any moly grease will do.
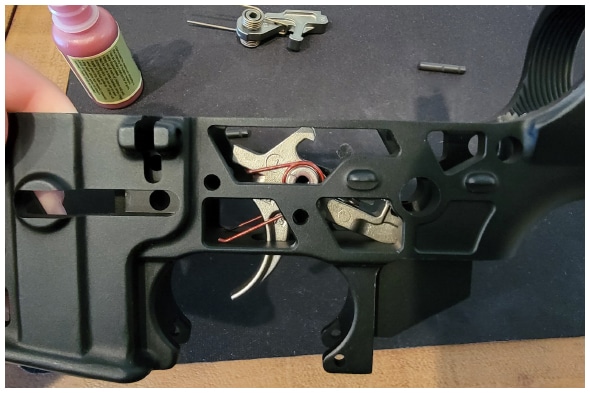
9. Lubricate the disconnector spring, trigger bore, hammer bore, and all contact points to help alleviate wear. You may want to wait on lubricating the top of the disconnector, as you are going to push down on it to align the trigger pin hole with the trigger bore.
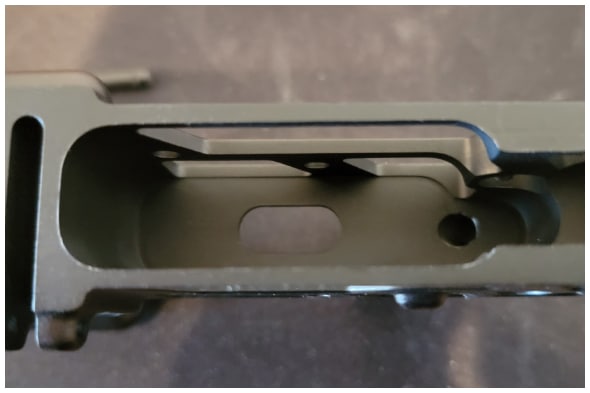
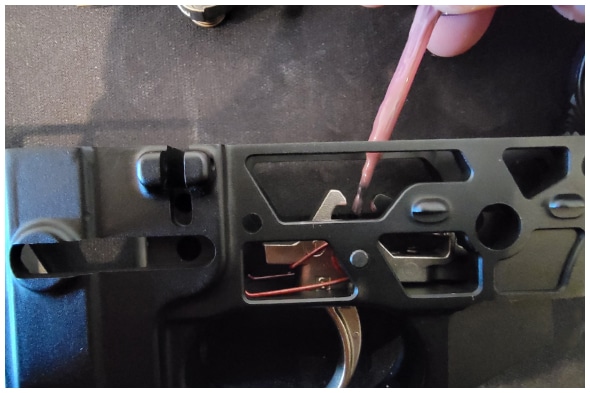
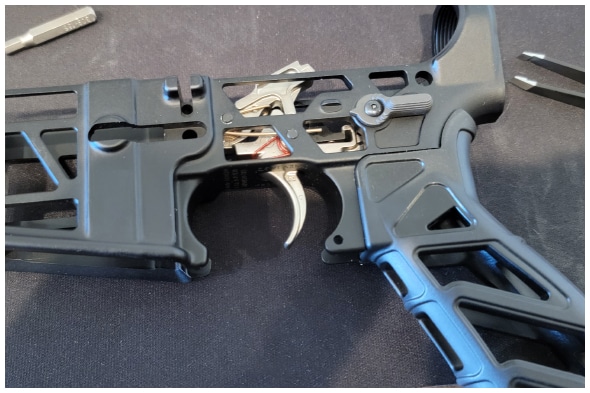
10. Take your lower receiver (Figure 15) and drop the AR-15 trigger assembly into receiver (Figure 16). Push down on the trigger assembly (Figure 17) to align the holes for the trigger pin. Make sure that the spring legs are still facing towards the muzzle.
11. Insert the trigger pin (Figure 18). You will push it until it is flush through the other side (Figure 19). You may have to use the non-marring hammer to get the pin through, or wiggle the trigger around to get proper alignment.
12. With the trigger assembly now installed, lubricate the two remaining points on the disconnector (Figure 20 & 21).
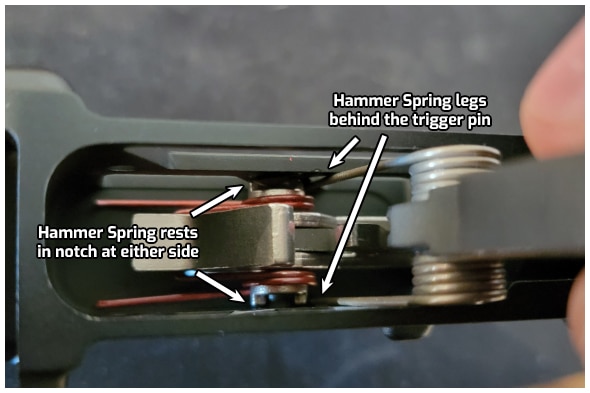
13. Take the hammer assembly and place both legs of the hammer spring behind the trigger and trigger pin (Figure 22 & 23). When you push the hammer assembly forward and down to align with the hammer pin slot, the spring legs with sit on top of the trigger pin. The hammer pin should be inserted into the hammer pin hole (Figure 24), and then all the way through until flush with other side of the receiver.
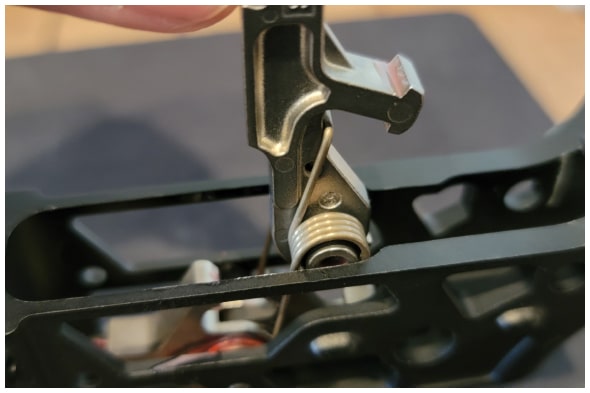
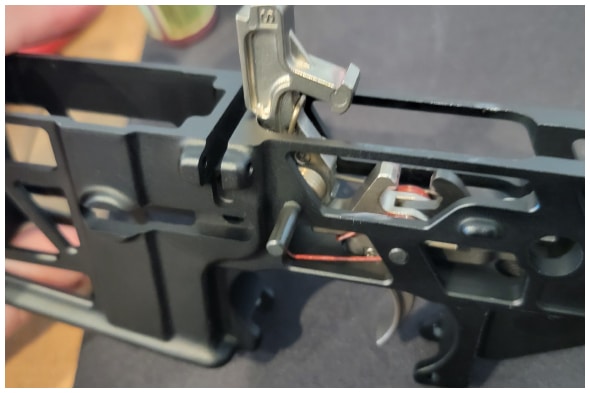
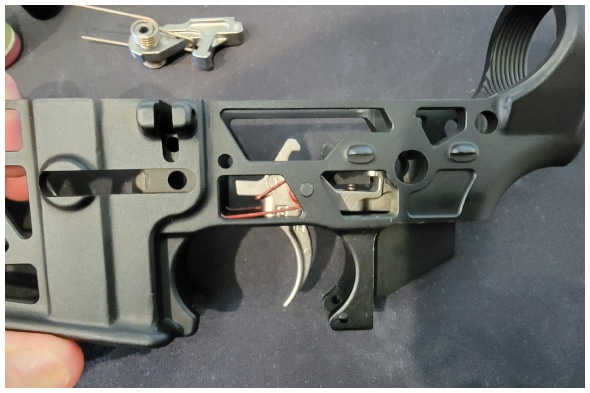
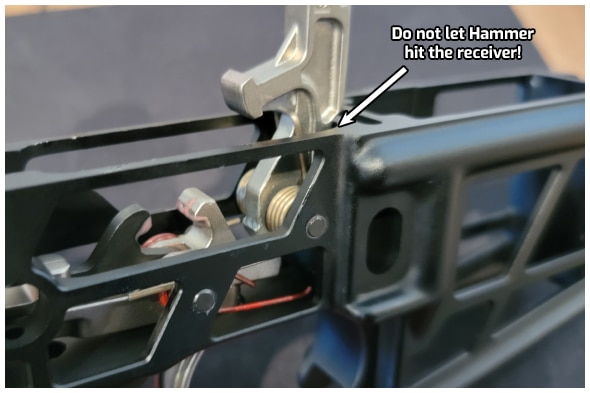
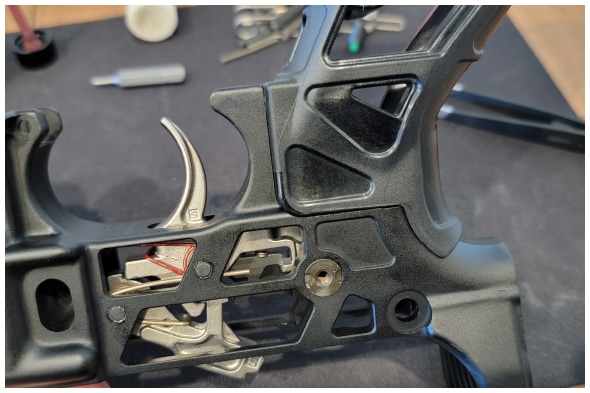
14. Your trigger is now installed (Figure 25). If you were replacing a trigger, go ahead and check safety operation. If building a stripped lower, skip to step 16. With the hammer cocked and safety on or set to SAFE, pull the trigger. The hammer should not release. Make sure that if you have your lower separated from the upper receiver still, you do not allow the hammer to hit the bare receiver. The force could damage the receiver. Use a hammer drop block or just hold the hammer down when testing.
15. Connect the upper receiver to lower receiver with the hammer cocked. Make sure that chamber is still clear, and no magazine is inserted. Check the trigger reset by switching safety to FIRE. Dry fire and keep the trigger held back. Pull and release the charging handle. Allow the bolt carrier group to close. Your hammer should not fall. Let go of the trigger to hear an audible click. The trigger should catch the hammer.
16. If you were installing the trigger on a stripped receiver, you will need to install your safety first. To do this, you also need to install the pistol grip. So grab the AR-15 lower receiver, your preferred safety selector, and a pistol grip (Figure 26).
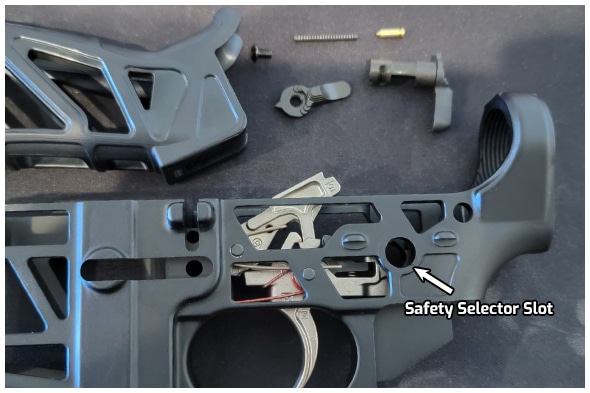
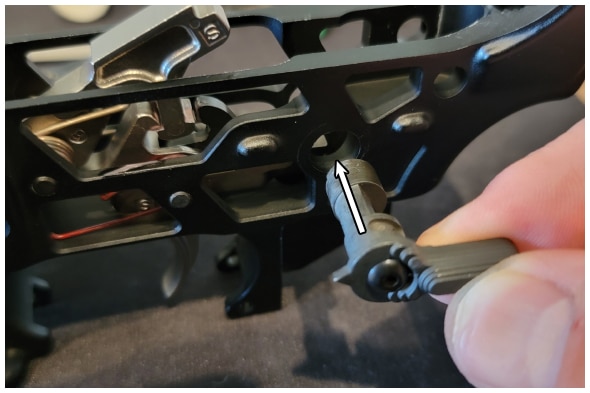
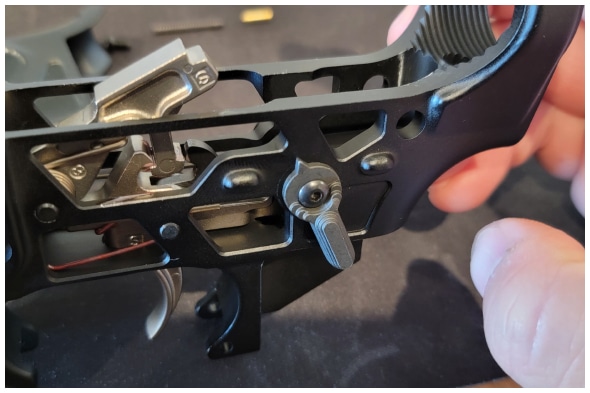
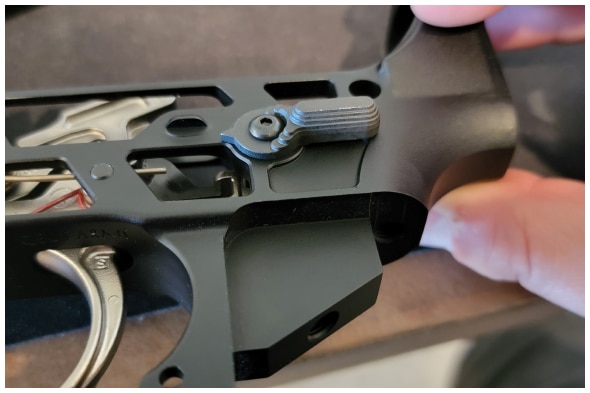
17. Make sure the hammer is cocked and do not pull the trigger, as it could still damage the receiver. Insert safety selector through the safety slot on the receiver (Figure 27). As of now, the safety will rotate freely (Figure 28).
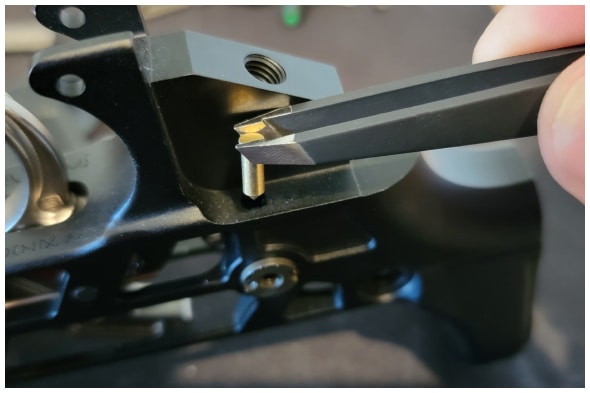
18. Turn the receiver over and grab your lower parts kit. You will need the safety detent and safety detent spring. I would grab some tweezers because these parts are super small. Using the tweezers, pick up the detent, and install with the pointed end towards the safety (Figure 30).
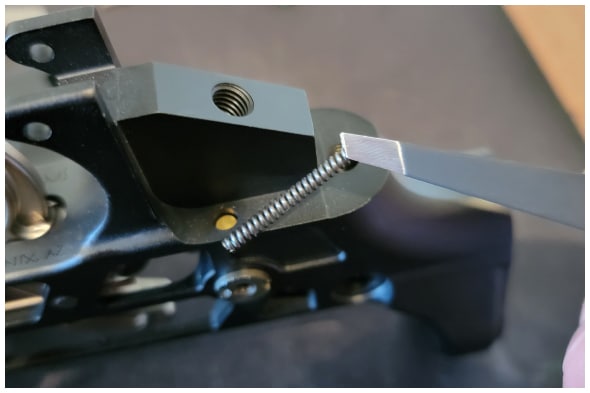
19. Take the safety detent spring as shown in Figure 31 and place it into the top hole of your pistol grip (Figure 34).
20. Flip the grip over, without the spring falling out. Place it over the grip guide and safety detent hole (Figure 33). Slowly push the grip down until the top is firmly seated against the receiver (Figure 34 & 35).
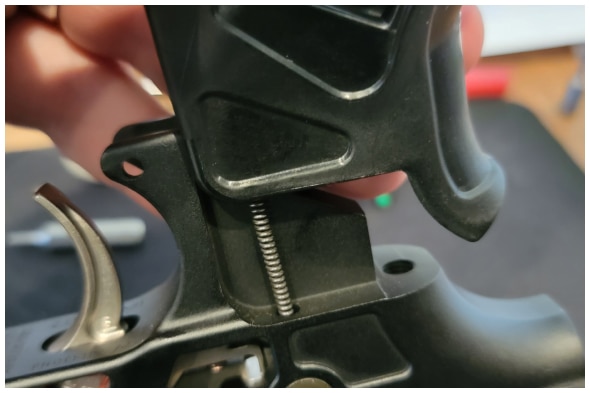
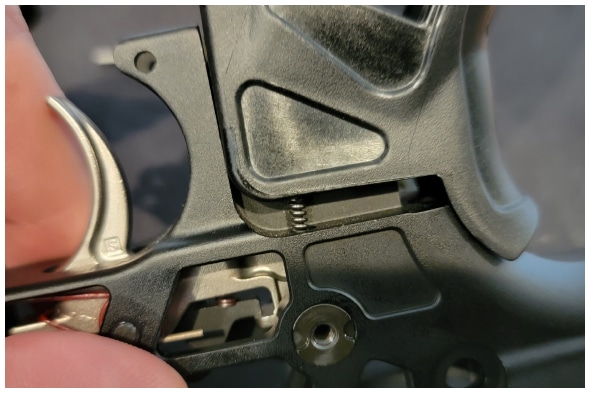
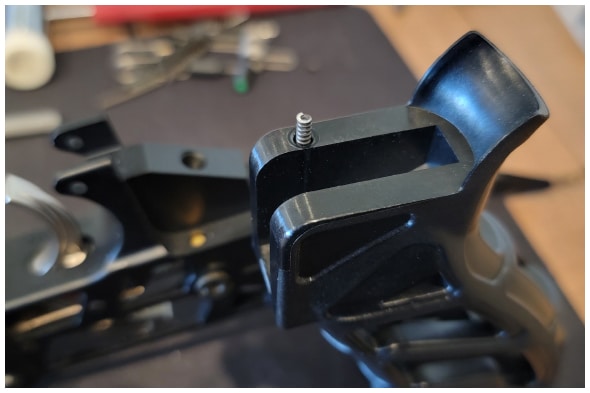
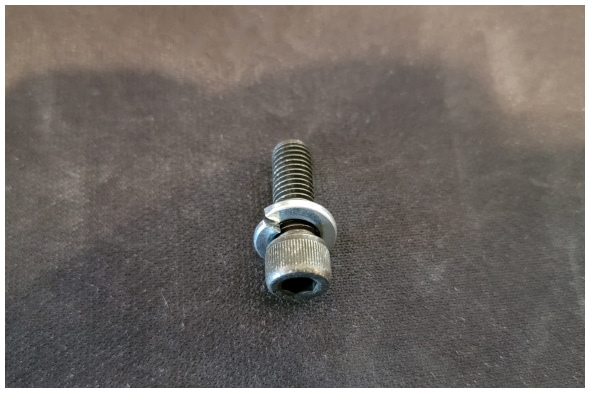
21. Next, grab your pistol grip lock washer and pistol grip screw (Figure 36). You will need an allen wrench or screw driver with at least a 6 inch extension to tighten the grip onto the receiver (Figure 37).
22. Verify that the safety will flip from SAFE and FIRE. Then, return to step 14 to verify that the safety works and the hammer does not fall with the SAFE engaged.
Congratulations! Your new AR-15 Trigger is successfully installed. Hopefully, the knowledge here will help you with all your future upgrades and builds. For those with a stripped receiver, you now have your safety and grip installed as well. And those with complete guns can use this article to upgrade your existing safety and grip. Just remember to occasionally lubricate your trigger group to mitigate wear, and keep your trigger at peak performance.
One Last Tip
If there’s anyone that knows the AR-15 platform, it’s the US military. As a special offer for our readers, you can get the Official US Army Manual for AR-15/M4/M16 right now – for free. Click here to snag a copy.
Very good. Pictures very good and very helpful, I now have confidence to install a 2 stage trigger. Mostly the same as installing a single stage trigger.