
Hoping to pass down your AR-15 to the grandkids someday? Knowing how to clean an AR-15 and keeping it properly cleaned and lubricated should be a top priority. However detailed disassembly and maintenance straight out of a manual can be daunting.
As a certified gunsmith, I will try to make it painless and walk you through each key step of disassembling, cleaning, and reassembling your AR-15 so you can keep it running smoothly for years to come. Don’t let jamming, fouling, or reduced performance happen on your watch. Let’s sparkle up that black rifle and keep it in tip-top shape!
This will cover the general AR15 gun maintenance steps. For my fellow visual learners out there, check out our 12-minute maintenance video!
Table of Contents
Solvents VS Oils
Let’s get some terminology out of the way so we can avoid getting any wires crossed down the road.
When most of us think of gun cleaning we think that oil is all we need. This is reinforced by companies producing CLP (Clean-Lubricate-Protect) which I compare to a 2 in 1 shampoo and conditioner. It does the job but if they were separate they do their jobs better. CLP works perfectly fine. Just remember to get all of it out of the barrel if it is used to clean it.
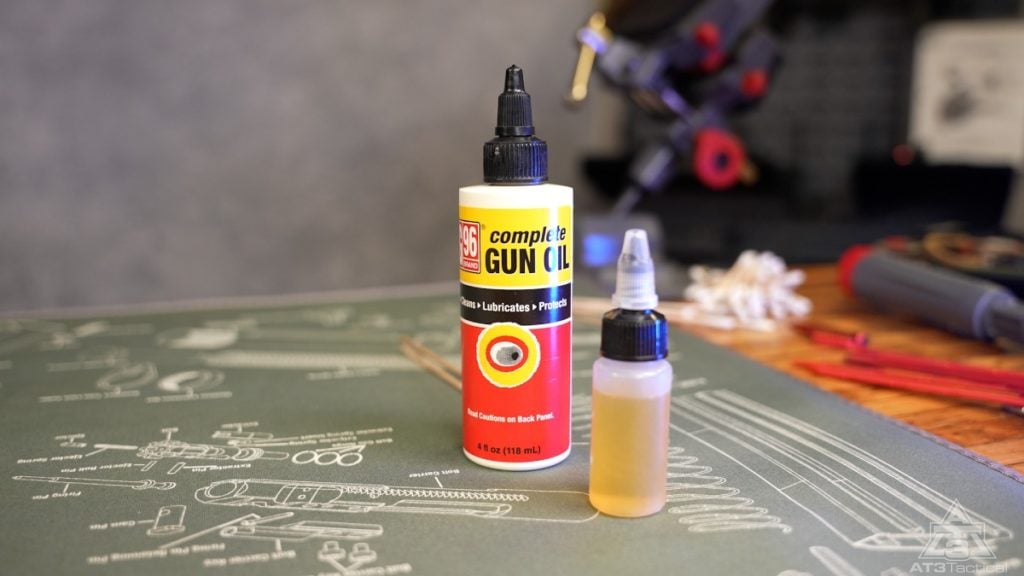
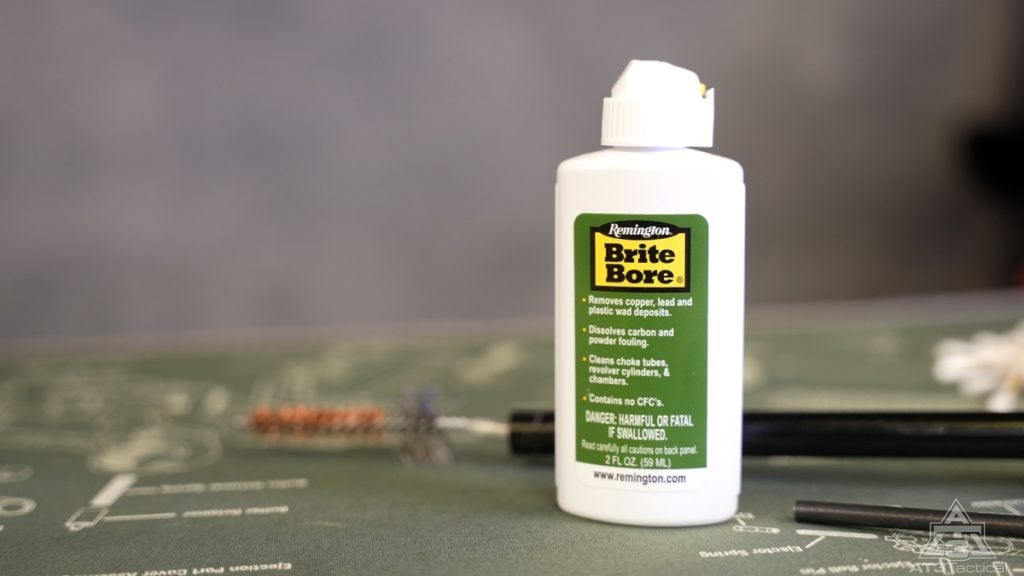
Solvents are like the cleaning crew for your rifle. They break down and dissolve all the nasty gunk and goop that builds up over time. We’re talking carbon, copper fouling, greasy residue, you name it.
Lubricants, like oils and greases, are what keep everything silky smooth after cleaning. This keeps friction in check and your rifle running sweet. Some oils are defined as “dry lubes” which dry up and leave a slick film. Lubricants also act as protectants for wiping down parts that could rust. Don’t skip this step!

One small bottle of each will last you years. Less is more. “A dab will do yuh”!
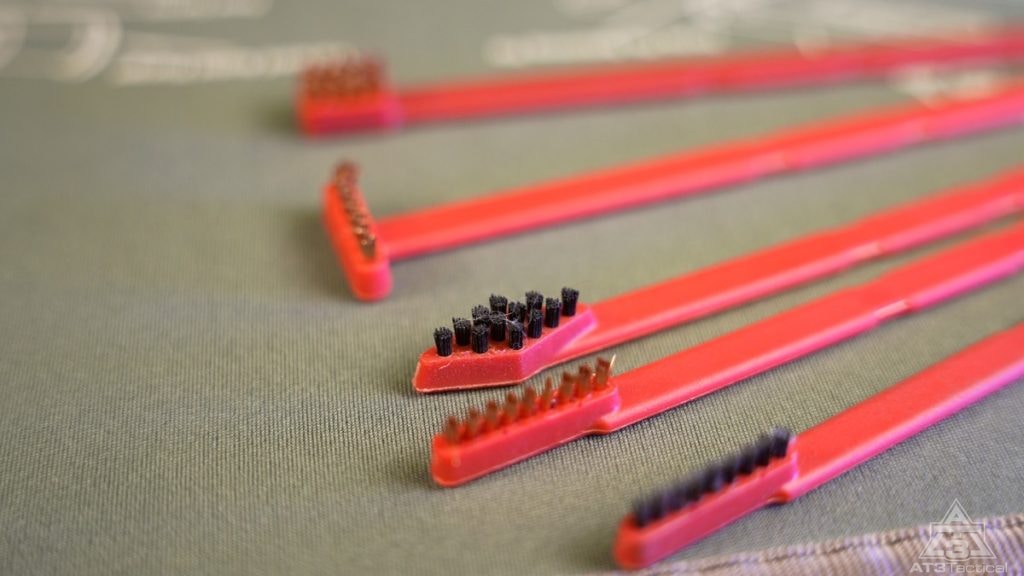
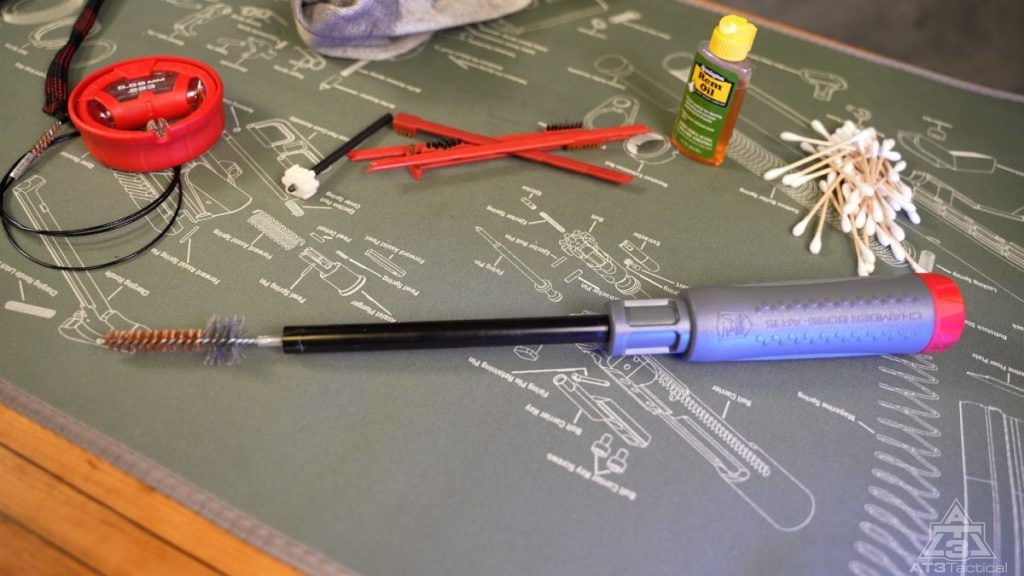
Required Cleaning Tools and Supplies
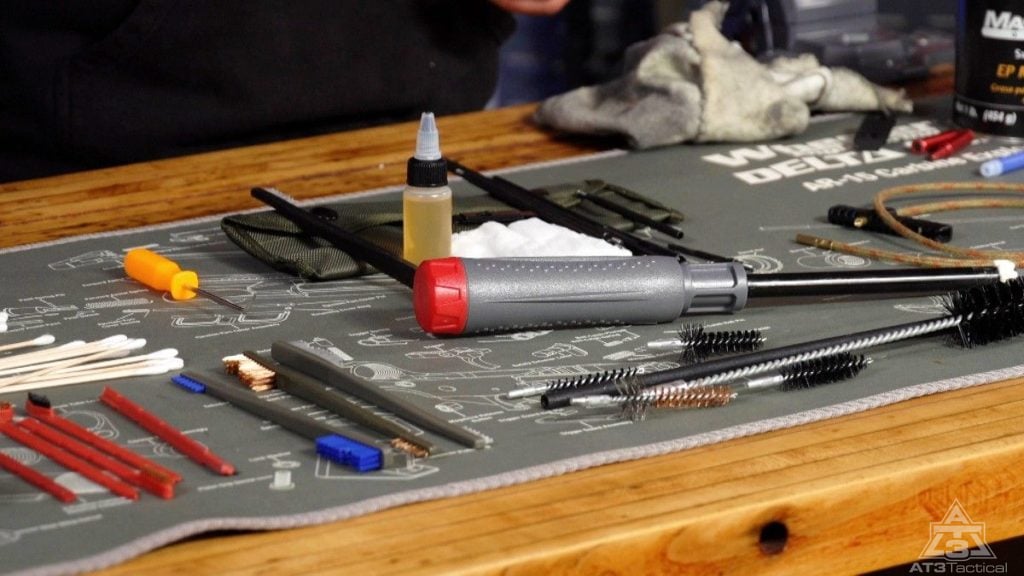
No need to buy fancy tactical cleaning tools for your AR-15. Odds are you’ve already got the basic brushes, solvent, rags, and elbow grease to get’er done. Focus on methodically disassembling, scrubbing out gunk, then reassembling properly. Take your time and use what you’ve got – no need to overcomplicate things with specialty gear! Proper reassembly and lubrication are key after cleaning.
Major players in the AR15 cleaning game are:
- Bore Snake: Bore snakes (Real Avid’s is my top pick!) are quickly becoming the mainstay in place of a traditional one-piece cleaning rod.
- Chamber Brush: Its requirement could be argued but if you want to get the job done right it is essential.
- Cleaning Picks/Hooks: Picks help scrape carbon deposits from tight spaces. Inexpensive plastic picks are really all you need.
- Cleaning Mat: A soft pad protects your work area and keeps parts organized. Otis makes a quality one at an affordable price!
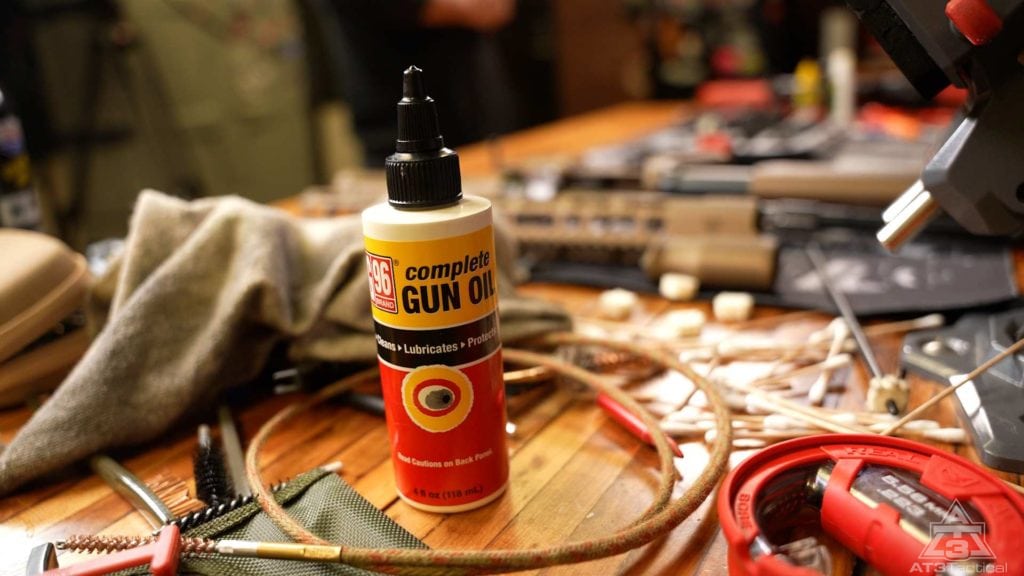
- Solvents/Lubricants: A good all-around product like G96 makes life easy (it’s a CLP). For the most thorough cleaning separate them into a solvent like good ol Hoppe’s No 9 and a lubricant/protectant like Rem-Oil Spray or Wipes.
- Rags/Paper Towels/Cotton Swabs/Pipe Cleaners: For wiping down components. Don’t use grippy towels (like a bath towel) that will grab/catch metal shavings.
- Optional/Quality of Life Tools: Vise and bench block, special chamber swabs, a small hammer, or snap caps for function testing.
Disassembling the AR-15 for Cleaning
Always make sure you practice proper gun safety when prepping to clean your AR15 (Guide to Gun Safety). Make sure your firearm is unloaded. Check the magazine, chamber, and space between.
Basic cleaning often requires “field stripping” of your AR15. Field stripping is disassembling a firearm’s main parts as far as possible without the use of tools. For deeper cleaning, a more in-depth disassembly may be required. For those annual deeper cleanings check out this FREE Army Service Manual for the AR15/M16/M4.
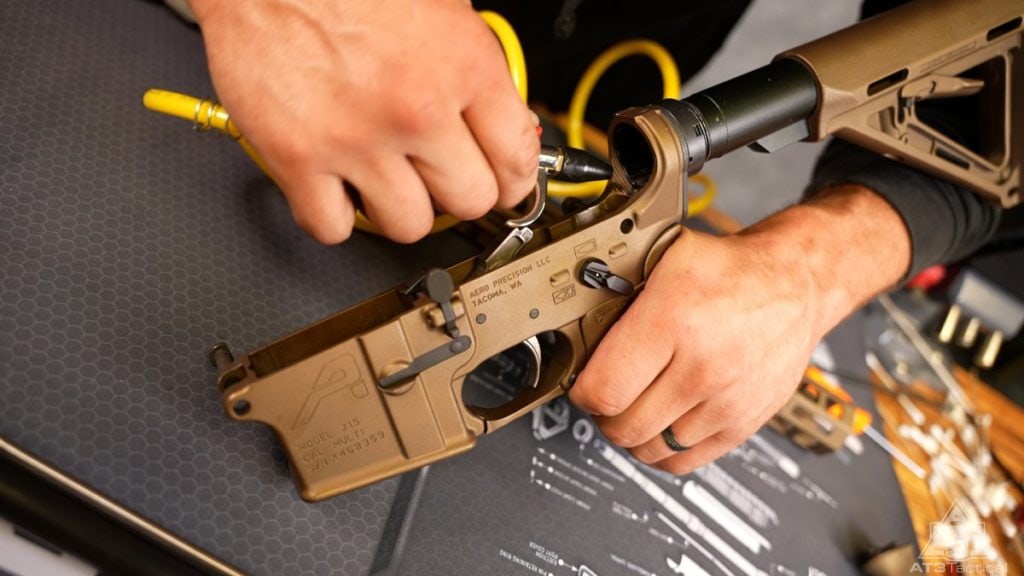
An AR15 field strip can be done in three easy steps:
1. Separate the upper and lower receivers. Push out the rear takedown pin and pivot the upper away.
2. Remove the bolt carrier group by pulling back the charging handle and lifting out the BCG.
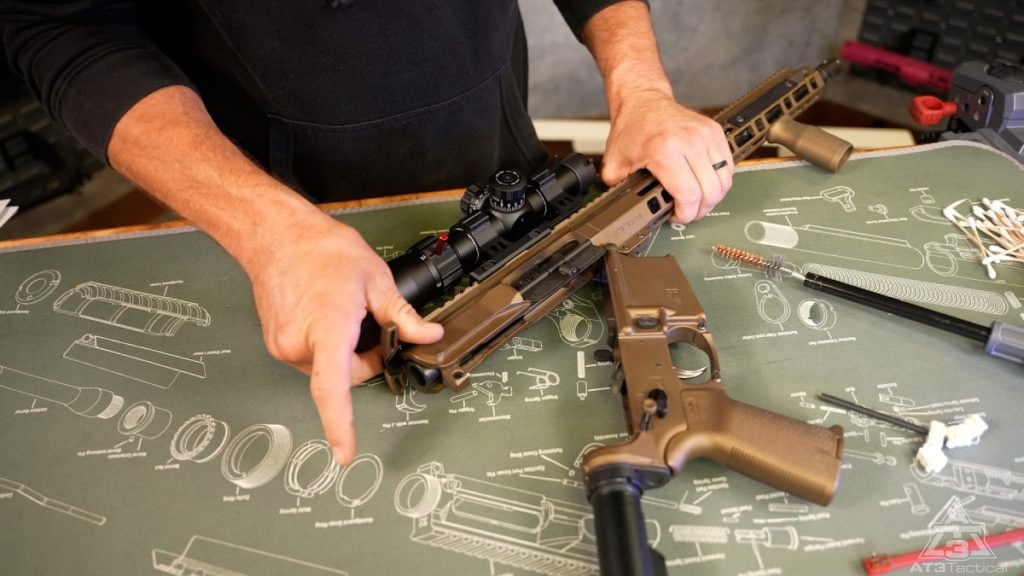
3. Use a hook tool, punch, pointed stick, etc to pull out the firing pin retaining pin in order to get at the firing pin.
Reminder: Because the AR15 is gassy it needs routine cleaning. Cleaning after every range day is a great best practice, but we also suggest a deep clean once or twice a year depending on the amount of usage.
Cleaning the Upper Receiver
Focus first on the barrel and upper receiver using brushes, picks, and solvent to remove carbon fouling and copper deposits from the barrel interior and chamber.
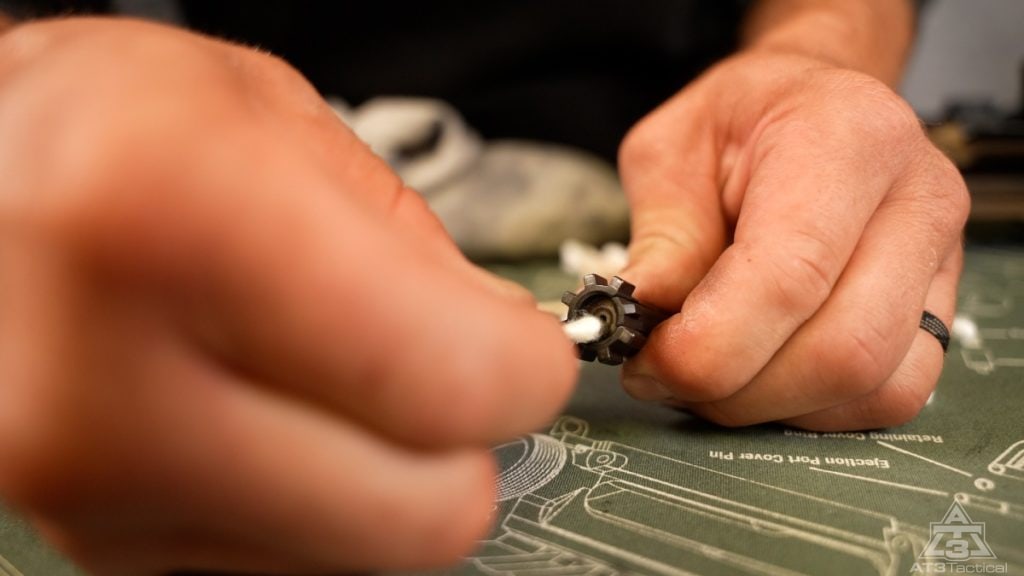
1. Use a chamber lightly splashed in solvent to scrub out the barrel extension and lugs.
2. Use a bore snake to pull out any thick deposits. Starting from the chamber to and coming out the muzzle is recommended in order to keep crap out of the receiver, but also this gives you room to pull a bore snake out.
3. If the bore snake does not seem to be drying the bore, push cotton or paper patches through the bore until they come out clean and dry.
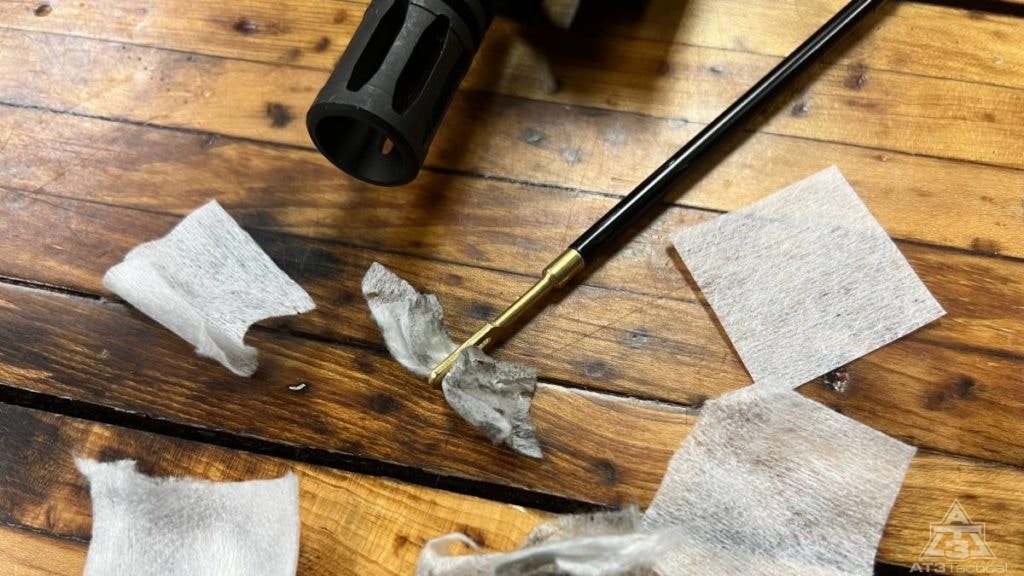
4. Apply solvent to a cotton swab and use it to remove fouling and carbon from inside the upper.
5. Wipe off any residual fouling or solvent from the upper with a rag and swabs.
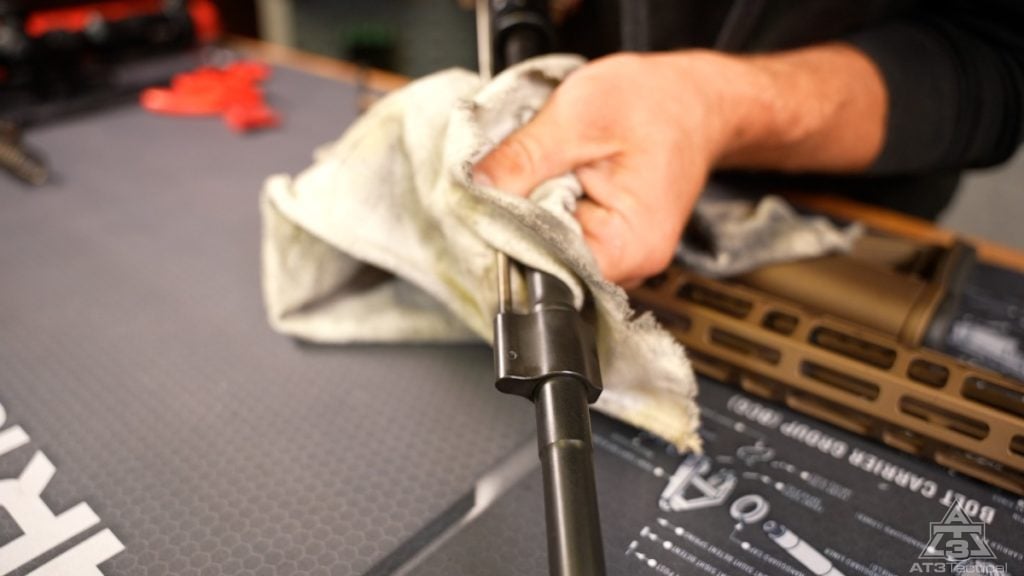
6. Wipe down the upper receiver with a rag and protectant (often lubricant/oil) to protect from rust.
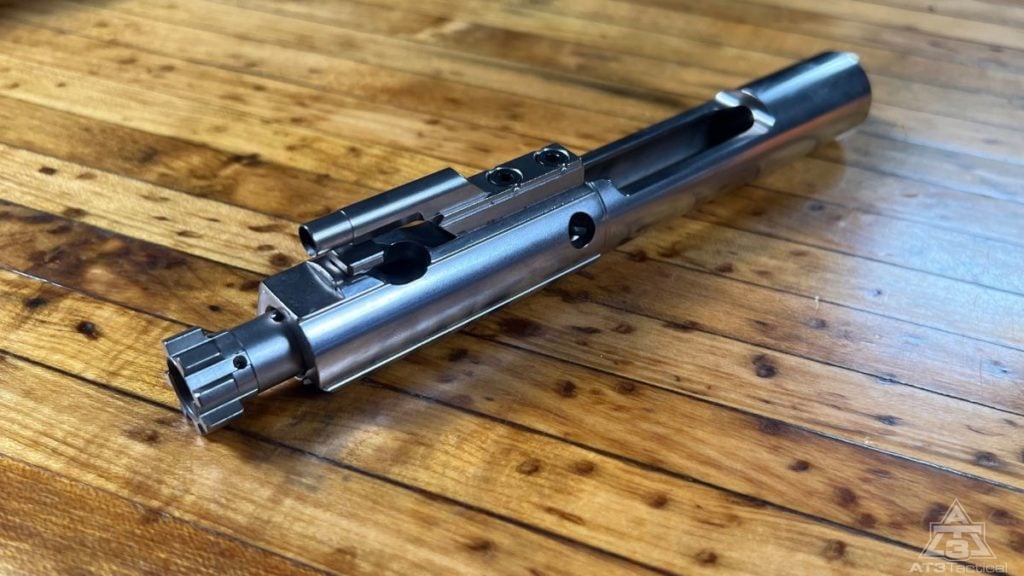
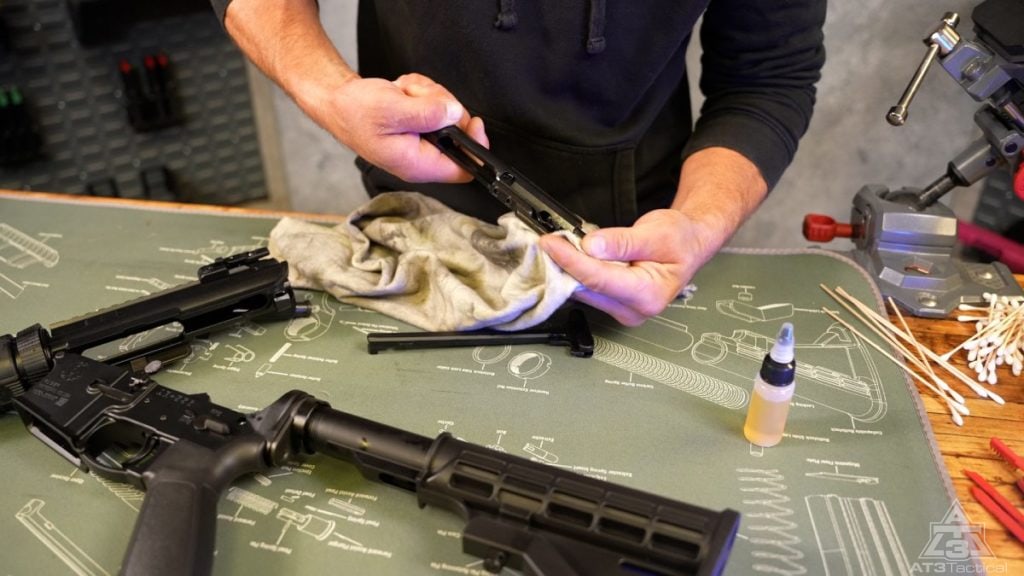
Cleaning the Bolt Carrier Group
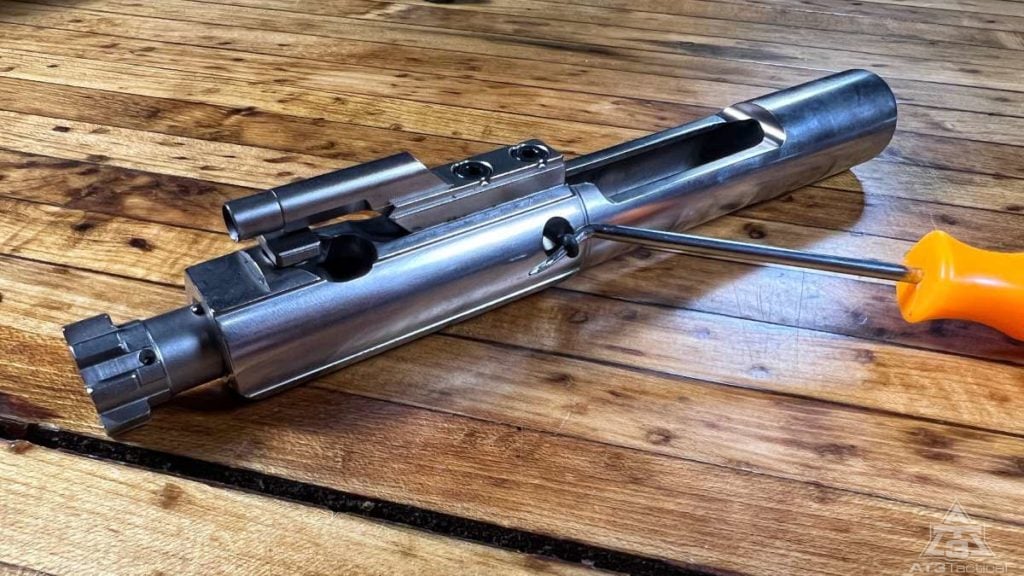
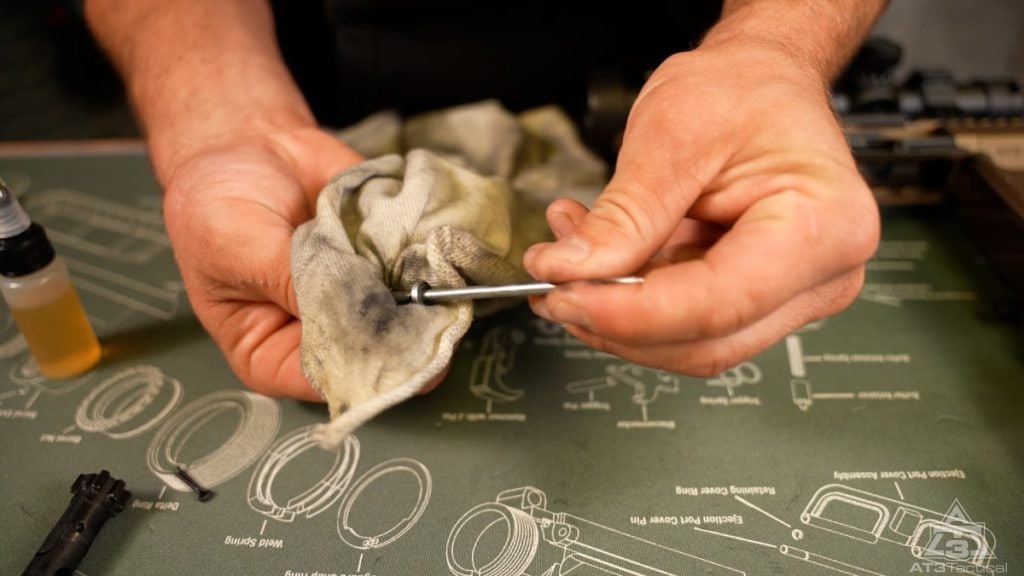
Moving on to the bolt carrier group! Thoroughly clean the BCG, paying special attention to scraping away carbon on the bolt face and body. Get rid of any major debris from all components until they are fully de-fouled. The firing pin should not need much more than a wipe-down with a rag.
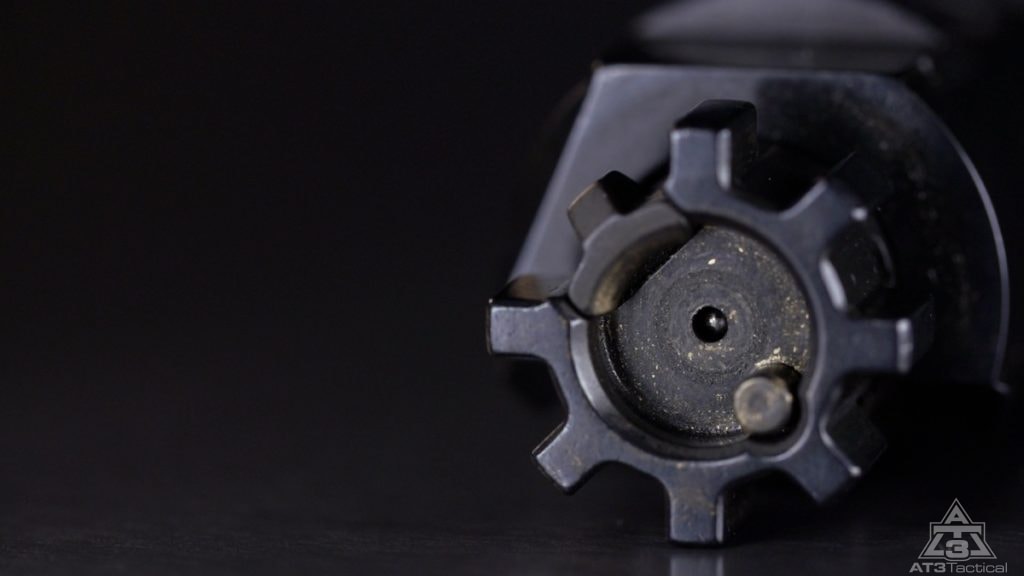
1. Use a pick to scrape carbon off the BCG, paying special attention to the locking lugs, bolt face, and bolt body.
2. Brush all components of the BCG until fouling is removed. Solvents are probably necessary unless it is a nickel boron-coated bolt since they’re much easier to clean. Grime does not cling as hard to them!
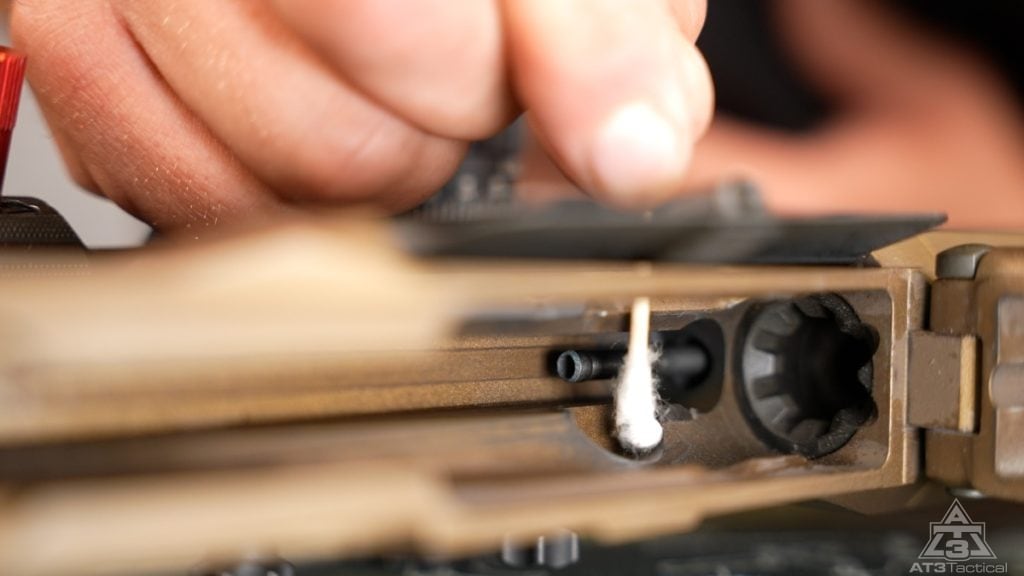
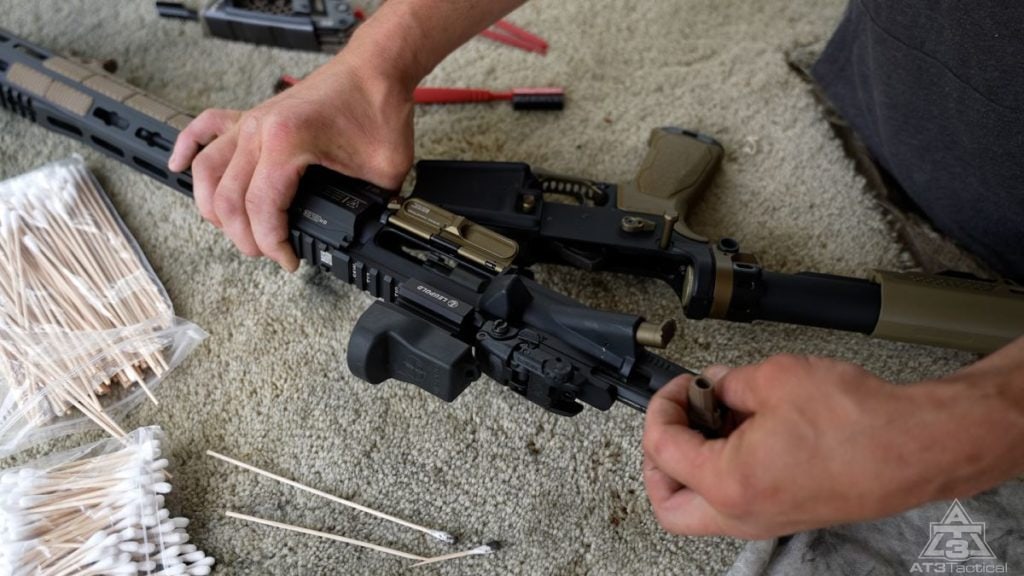
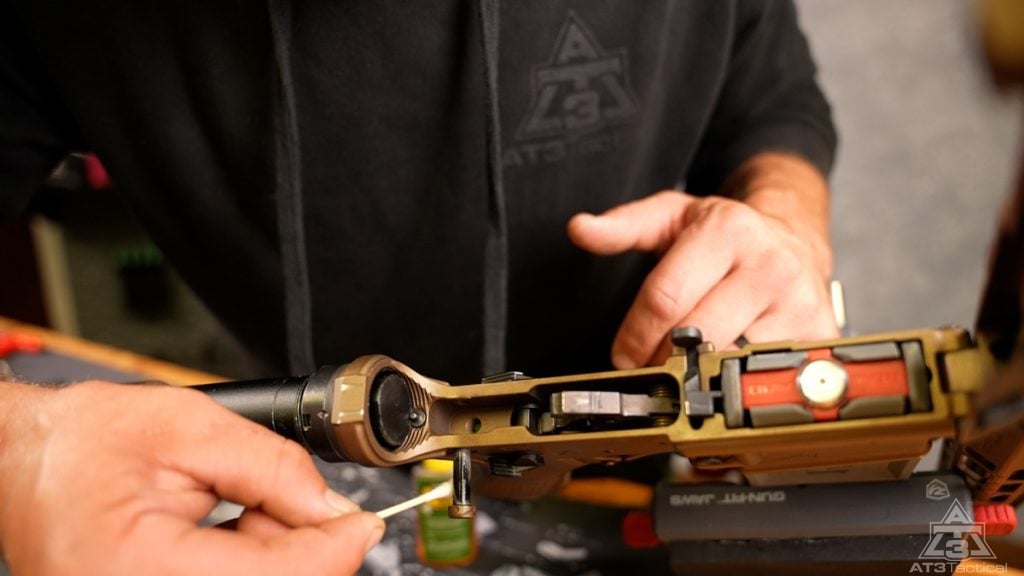
3. Wipe down each part and be sure the firing pin channel is clear of debris. Behind the firing pin port (seen below) is a tunnel in which the firing pin slides back and forth. Cleaning this area is easily done with a cotton swab and some light solvent.
Cleaning the Lower Receiver
Cleaning the lower receiver is pretty straightforward. A good rule is to keep the lower parts and buffer system/tube dry. A cotton swab, maybe a pipe cleaner, and a plastic pick are the main tools used here. They just have to remove any substantial deposits of carbon and fouling. A good wipe-down with a rag before and after wouldn’t hurt anything.
We do not recommend lubricating anything in the lower. Why? The gas system that the AR-15 uses blows grime back into the action. Any sources of “wet” will accumulate and sludge up far faster than if things were dry.
1. Wipe out the lower receiver interior with a rag/cotton swab and use solvent if necessary.
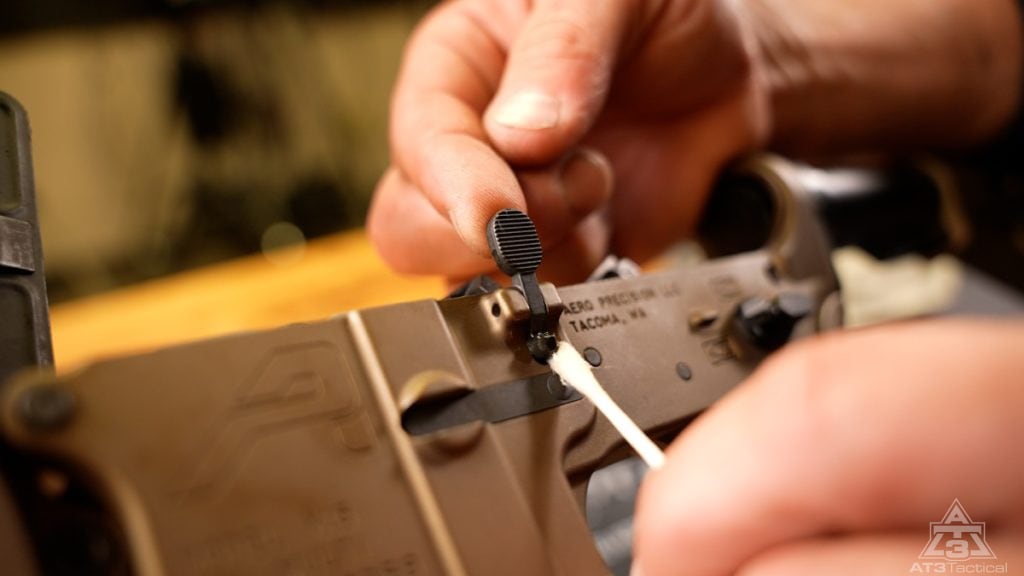
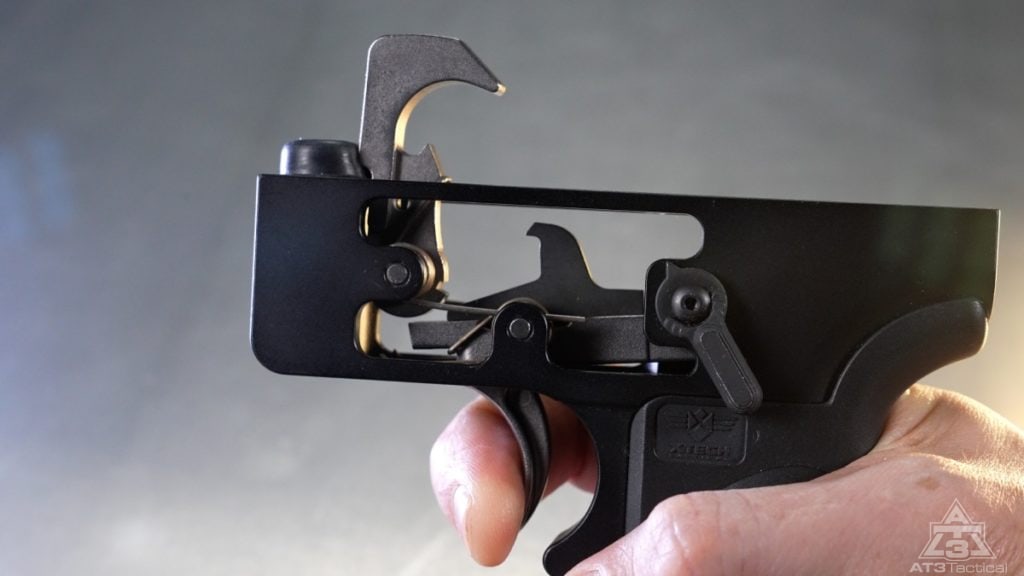
2. Brush the trigger assembly with a nylon brush to remove any built-up grime.
3. Bonus points if you have some compressed air on hand. It goes a long way when cleaning. If everything is dry and dusty it does wonders to break up the grime. To CYA ourselves here, wear your safety glasses folks!
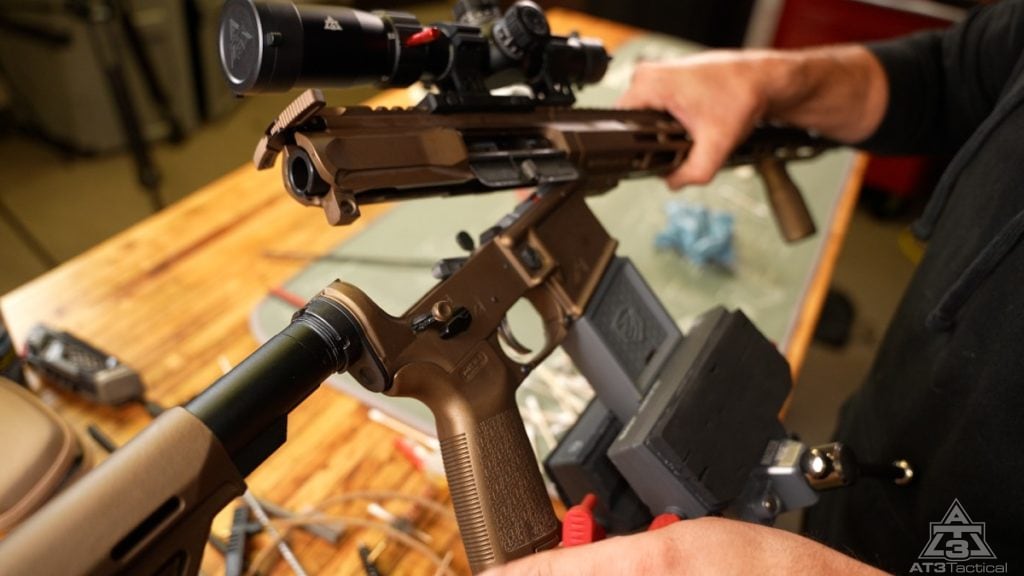
Reassembling the AR-15
Alright, reassembly time. Go slowly and be real steady getting everything lined up properly again. Don’t force anything! Remember how it came apart and reverse those steps. Take your time and do it right – no need to rush.
1. Insert the firing pin and reinstall the retaining pin in the bolt.
2. Put the charging handle back into the upper.
3. Place the BCG into the charging handle and slide the two fully into the upper.
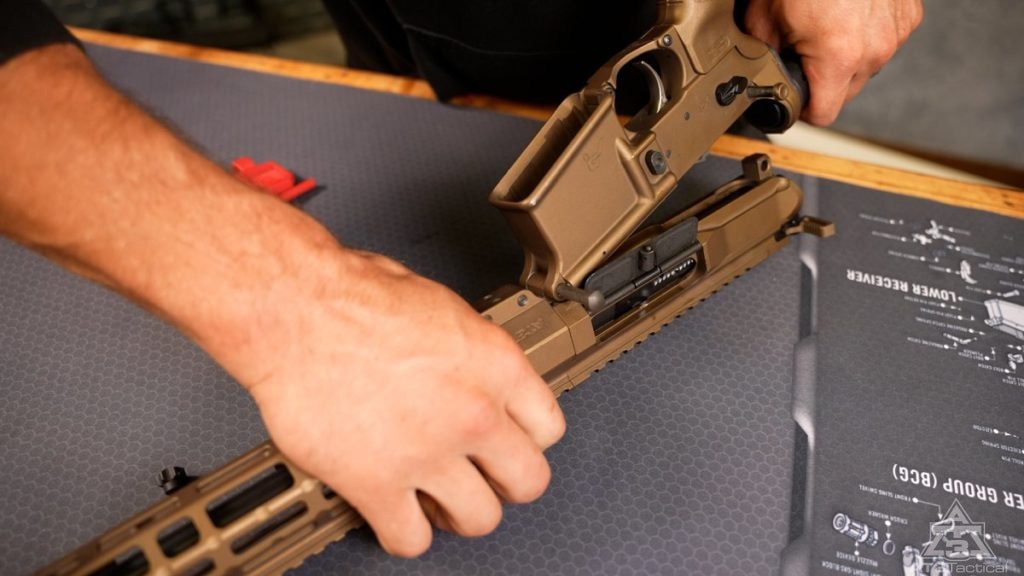
4. Rejoin the upper and lower receivers, inserting the takedown pins fully.
Don’t stash away your rifle just yet – function testing ensures proper operation after cleaning. This is where those optional snap caps we mentioned earlier could come in handy!
AR15 Function Check
No one likes going to the range only to find out their gun doesn’t work after cleaning it. Function checks ensure you have done your due diligence and have not left a part out or missed something that was busted or worn out.
Important Note: Make sure no magazines or ammunition are around for this step. You don’t need ammo for a function test. Besides, it really cuts down on the holes in the wall and ceiling.
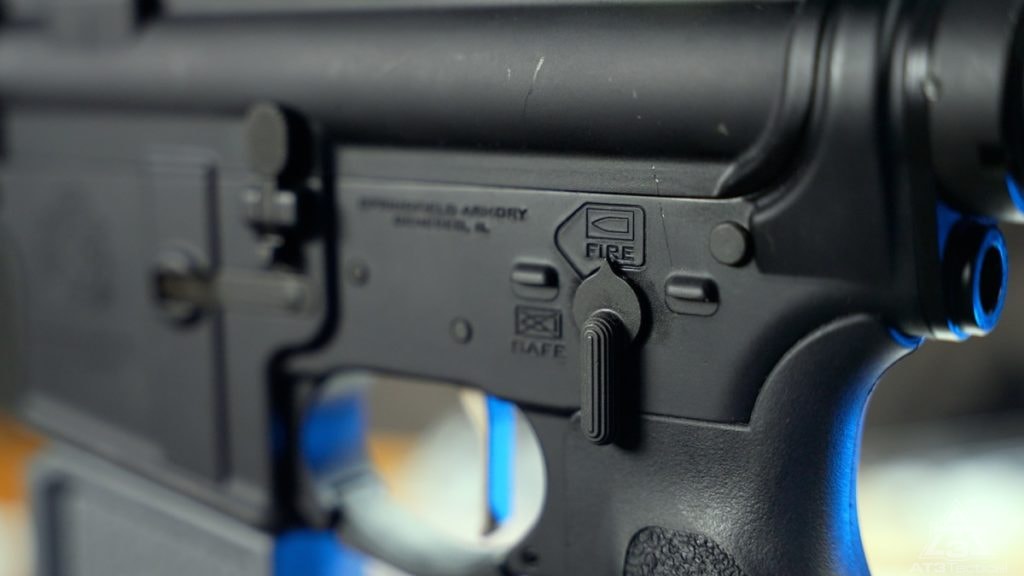
1. Engage the safety selector switch in the “Safe” position. Pulling the trigger should not release the hammer.

2. Move the safety selector to “Fire.” Squeezing the trigger (KEEP IT HELD DOWN FOR THE NEXT STEP) should now hear the break and allow the hammer to drop.
3. Keep the trigger held to the rear as you manually cycle the action by pulling the charging handle back and releasing it to be flung forward.
4. Releasing the trigger should produce an audible “pop” known as the trigger reset.

5. Finally, re-engage the safety selector to “Safe” and squeeze the trigger. Nothing should happen. Function checks are complete.
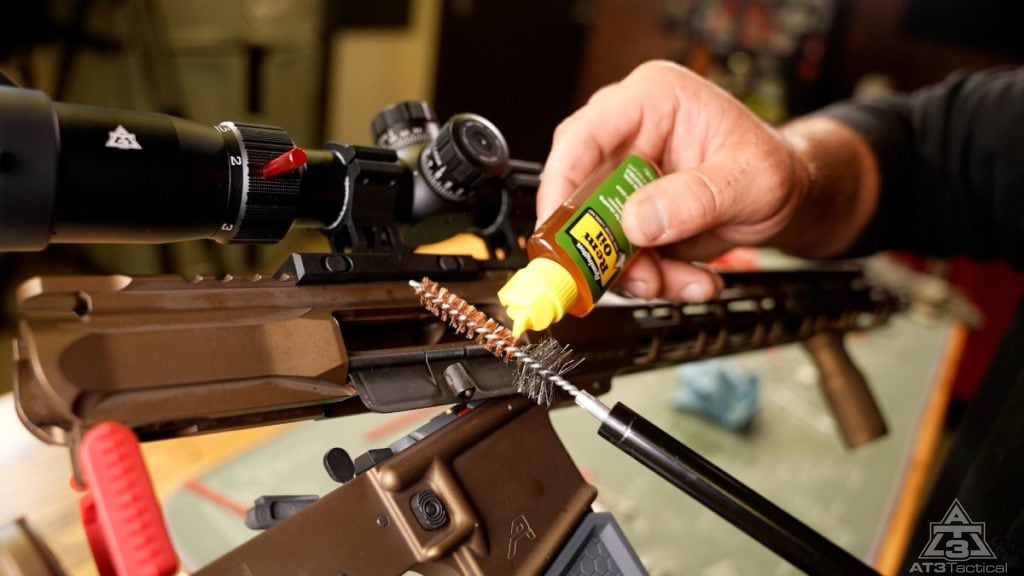
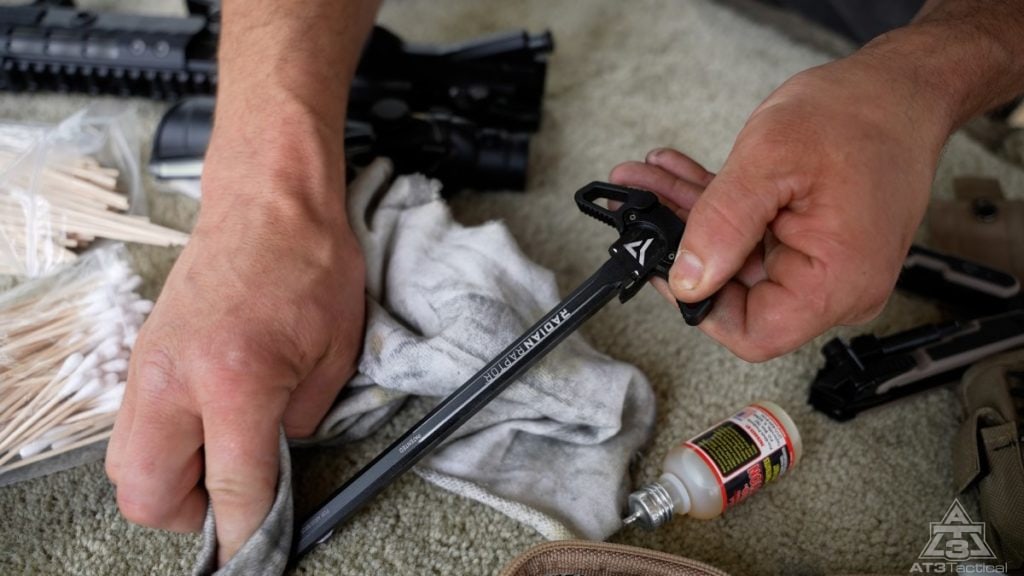
Lubricating Key Parts
Sliding into the lubrication portion of our little talk today, don’t go overboard with oils and solvents. These tiny bottles should last years. Proper lubrication prevents jams and reduces wear. Improper lubrication results in the added accumulation of fouling resulting in malfunctions and potential parts wear and breakage.
1. Apply a thin coat of quality gun oil or grease to the BCG.
2. Wipe down the exterior of the rifle with a rag that has a small splash of protective oil.
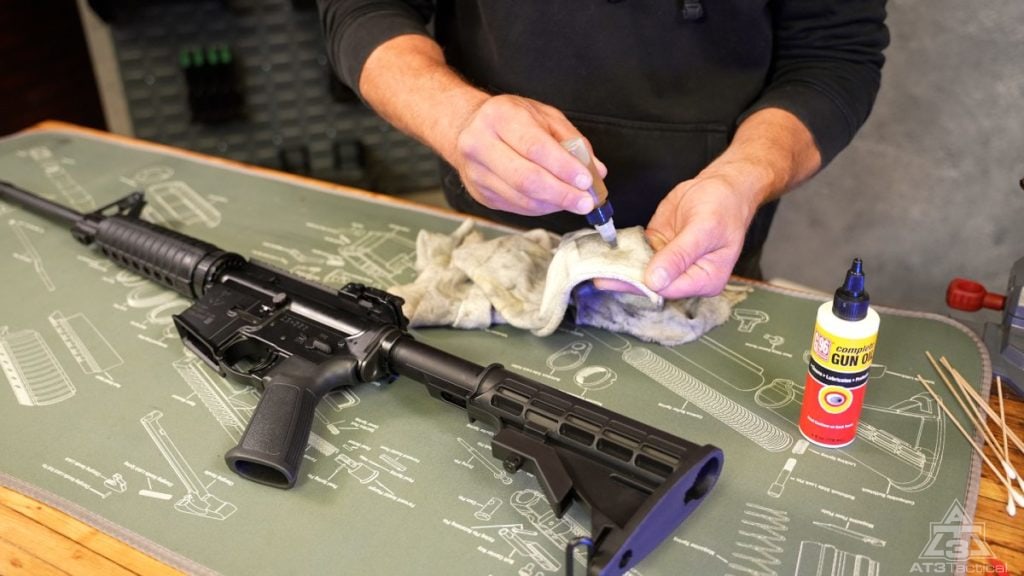
3. Put a drop of oil on friction points like the takedown pins.
Honorable Lubrication Mention:
- The buffer system really does not need much lubrication. However, a smear of grease (like Aeroshell) around the recoil buffer and buffer spring meet is not the worst idea for an added layer of peace of mind.

Common Cleaning Mistakes to Avoid
When it comes to cleaning guns I see mistakes all the time. They are completely understandable, but they are also 100% avoidable.
- Overcleaning your AR-15 might do more harm than good. You don’t need to obsessively clean.
- Lubricating the parts in the lower is considered a no-no. We went over this earlier. Carbon and fouling is shot into the lower all the time. Oils will help it accumulate and turn into sludge.
- Allowing carbon buildup by not cleaning regularly will almost certainly lead to malfunctions. Do a general light cleaning after each range session.
- Forgetting to lubricate after cleaning can allow parts to lock up and be sort of tacky when they are dry.
- Always wipe down your AR. A majority of the pieces and parts may be aluminum or plastic but steel still rusts.
- Improper disassembly can result in lost or broken parts. We lose parts all the time (check out FU Bags if you need spares). Follow our instructions closely and your AR should be safe and sound.
- I have seen this one time and time again. Do not bend your gas tube straight! It is supposed to be bent the way it is.
Keep That Black Rifle Running Smoothly
Keeping your AR-15 properly maintained with regular, thoughtful cleaning sessions will ensure it’s ready to go whenever you need it. Use quality tools, be meticulous yet gentle, lubricate adequately, and avoid common mistakes. Your AR will reward you and those grandkids you hand it down to with consistent accuracy and years of reliable service.
FAQs
No. Never. Do not do this with any firearm. WD40 will quickly turn into a gooey greasy mess in no time and cause all the issues associated with a dirty gun and more. Only use quality gun oil, solvent, and protectants.
A good routine is after every range session. It may not be necessary if it was a short-duration range day so every other trip is doable. Stay on top of it and you won’t be sorry!
Some of the best cleaning tools out there would be bore snakes, cleaning rods, and chamber brushes. A good bench and vice block can make this whole process easier but a cleaning mat at the very least is an excellent quality-of-life tool.
The bolt carrier group should be oiled or greased. This is the part that likes oil the most. The trigger and hammer pins can use a drop but less is more when it comes to the AR-15.
A general gun cleaning will take approximately a half hour or 45 minutes all said and done. This obviously can range in terms of tools and experience.
More AT3 Maintenance Content:
We at AT3 Tactical just want to lend our thanks to anyone who tunes in for the AT3 Blog and YouTube channel. It is much appreciated and we are happy to continue to churn out quality and helpful content. It is an honor to be of service. Please let us know if you have any questions in the comments below. Be safe out there and we will catch you next time!
- Tips for Cleaning an AR15
- Ep-17: What Does “Proper” AR-15 Maintenance & Cleaning Look Like? Are You Actually Doing It?
- Mid Length vs Rifle Length vs Carbine Length Gas System
- AR-15 Buffer Weights & Why They Matter
- Understanding Headspace in an AR-15
- A Practical Guide When Choosing the Best AR 15 Bolt Carrier Group
- How to Cover up the “Scarred” Area on AR 15 Barrel After Removing the Front Sight Block
- How to Remove and Change a Dust Cover
- Must-Have Tools for Ar-15 Builds
- Instruction Guide: Install and Tune an Adjustable Gas Block
- Building an AR-15 or AR-10. What Parts Are Compatible?
- Your Guide to Building an AR-15
One Last Tip
If there’s anyone that knows the AR-15 platform, it’s the US military. As a special offer for our readers, you can get the Official US Army Manual for AR-15/M4/M16 right now – for free. Click here to snag a copy.
Should the gas rings or inside of bolt carrier be oiled? Or should this be left dry? I’ve always put a little oil on cam pin and carrier contact points. Wasn’t sure on the inside of carrier
Rich,
Generally, if it moves or slides against another surface, it gets oil. The only area on the BCG that stays dry is the gas key interior, since you’re not getting a useful lube film in there anyway, and it just burns off.
For quantity: light and even. You’re not trying to soak it; just keep metal-on-metal surfaces from running bone dry. A light wipe with an oiled patch on the carrier interior before reassembly covers it.
Hopefully that helps!
– AT3 Team
Where can I get a full hard copy of the “How to clean an AR15 – The Ultimate Step-by-Step Guide? This is exactly what I need as a new AR15 owner.
Thank you I will share this with my daughter and her first ar
I first learned just over of 50 years ago
Good to have a refresher on the new products
Just found this site,as a new first time AR owner at age 69 , it’s a wealth of knowledge and information. Thanks ,Be safe out there everyone
Thank you for all your articles here. This is a great service. I am new to the AR game at 74 yo. I am beginning to understand the platform.
Take care,WRN,Virginia
Yeah i got a AR 9mm Brigade it’s locked up.
Thanks i try cleaning the bolt carrier and field stripping. Mostly i think it’s the Bolt carrier?