AR-15 Optics are great, but when technology fails…you better have a backup plan. But fear not! Fasten your brain learning safety belts. It’s time for a crash course in AR15 backup iron sights, from installation to zeroing, let’s go!
Table of contents
What is The Difference Between The Front Sight and Rear Sight
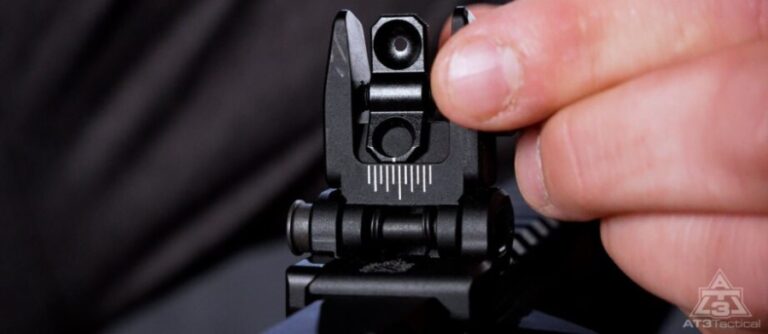
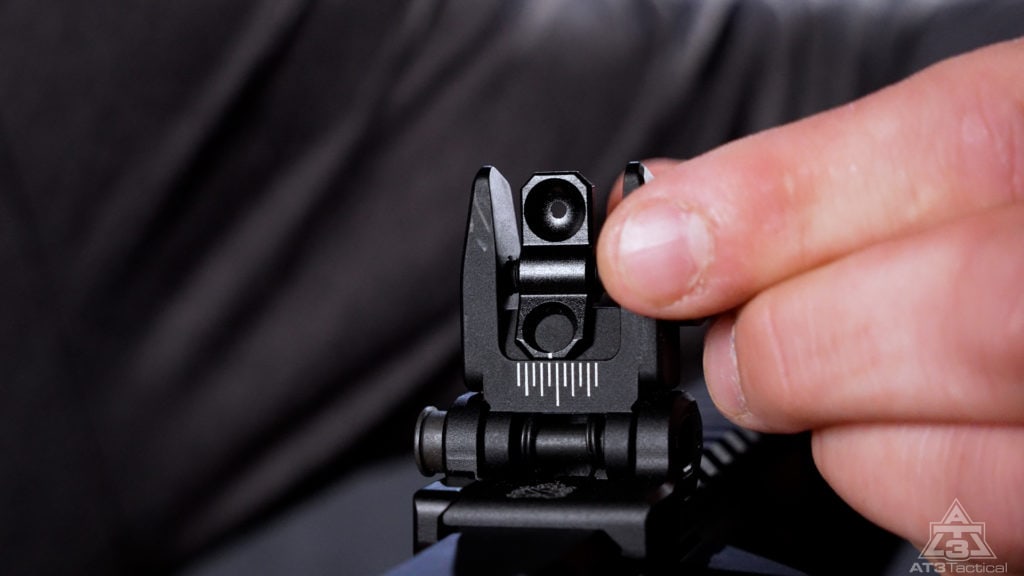
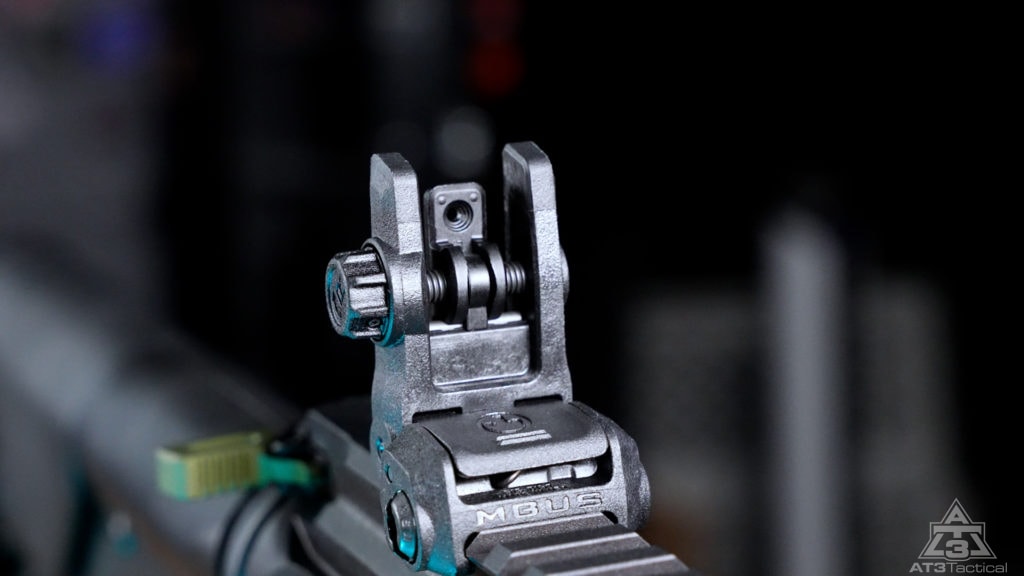
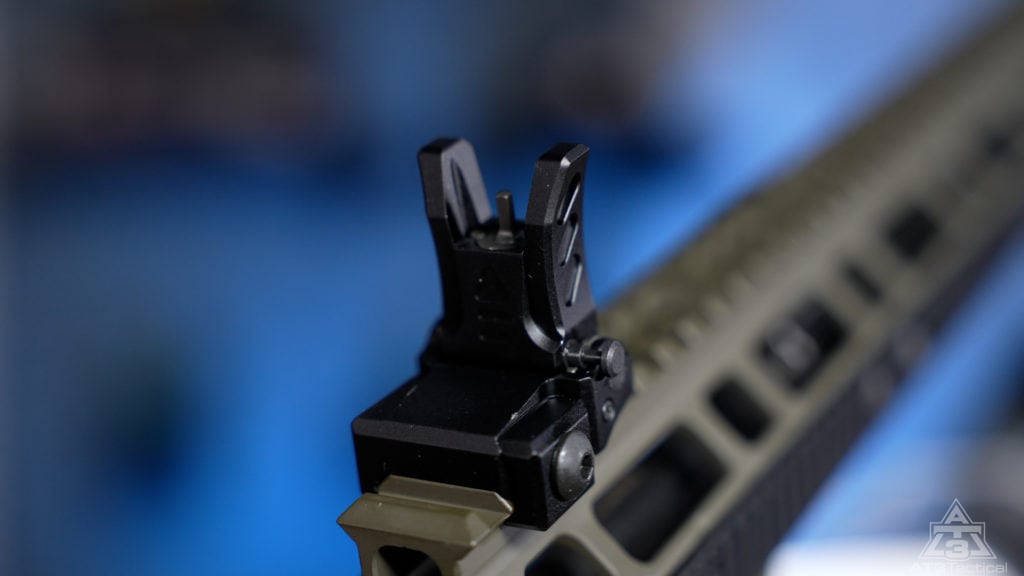
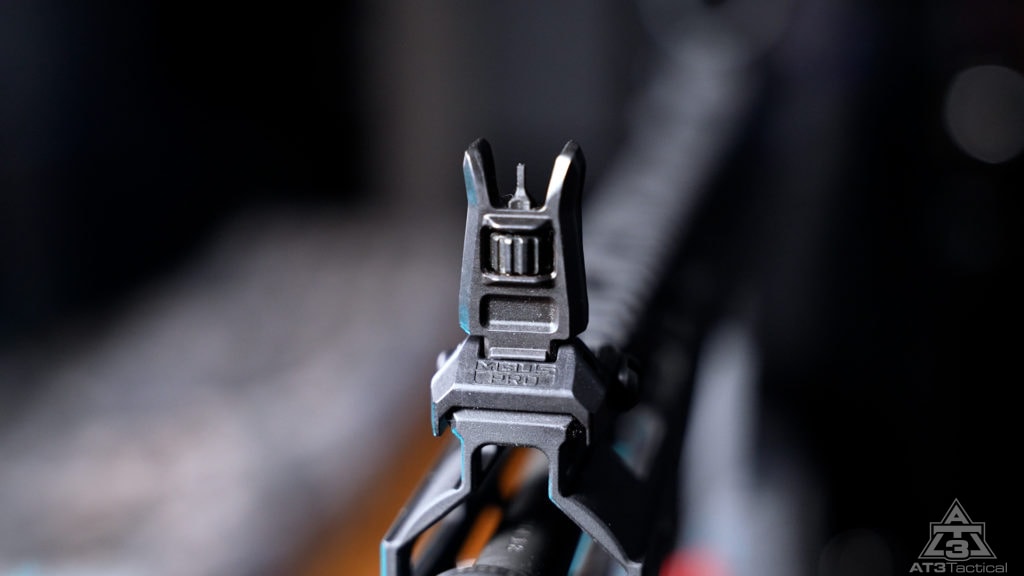
Everyone has to start somewhere. It is important to understand which sight is the front and which sight is the rear. The easiest way to do this is to look for the rear sight with the switchable aperture.
For reference, the aperture with the largest opening is for close-range and low-light shooting and the aperture with the small hole is for long-range shooting.
Don’t be “that guy” who puts the rear sight on the front and the front sight on the rear.
Which Way do Backup Iron Sights Go?
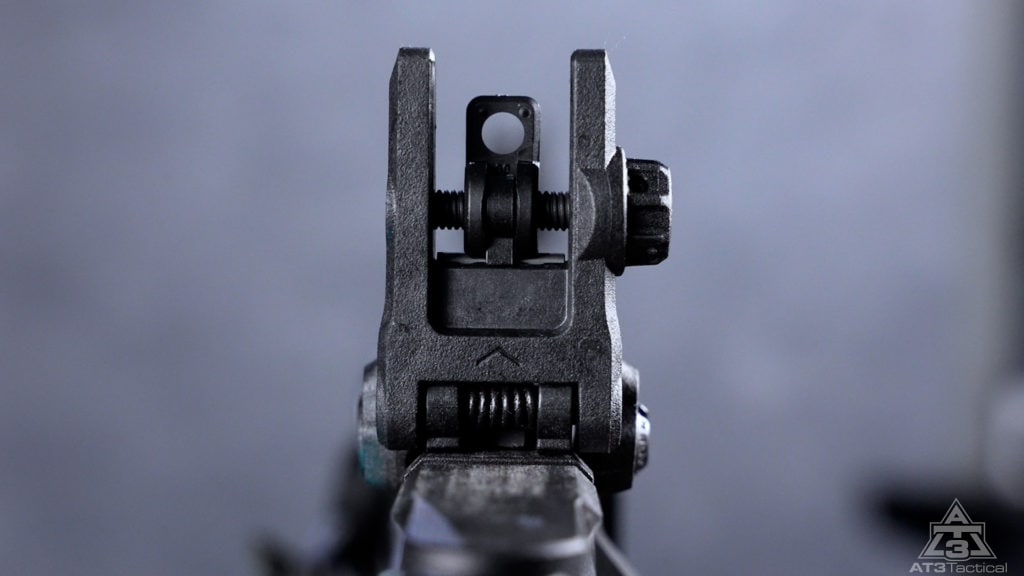
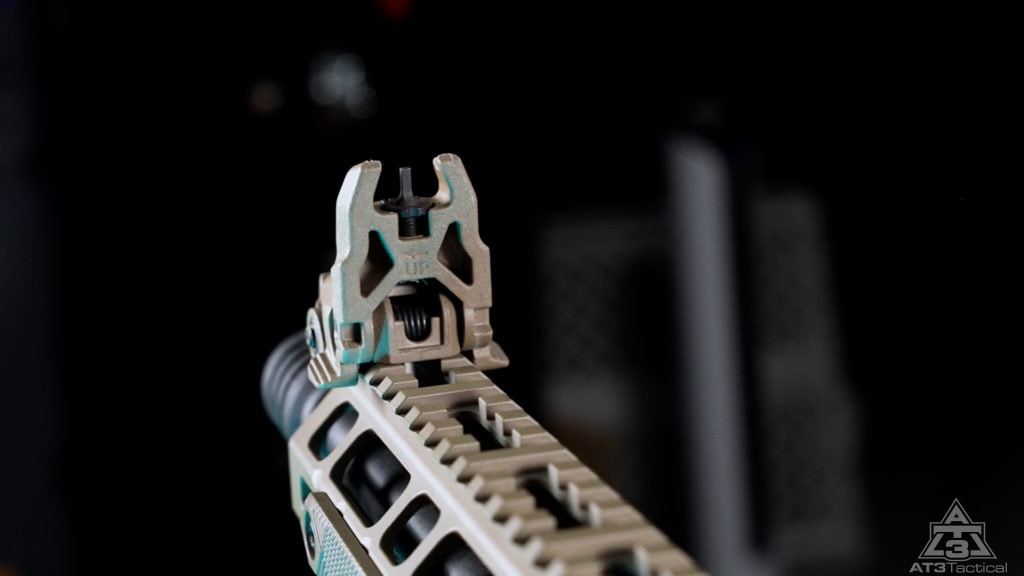
This article is mainly concentrating on flip-up backup iron sights. The orientation of the sight is typically done so that when it is deployed, the sight flips away from the shooter. This may vary from brand to brand so another giveaway would be to look for the windage indications on the rear sight. These will usually be vertical lines behind the aperture.
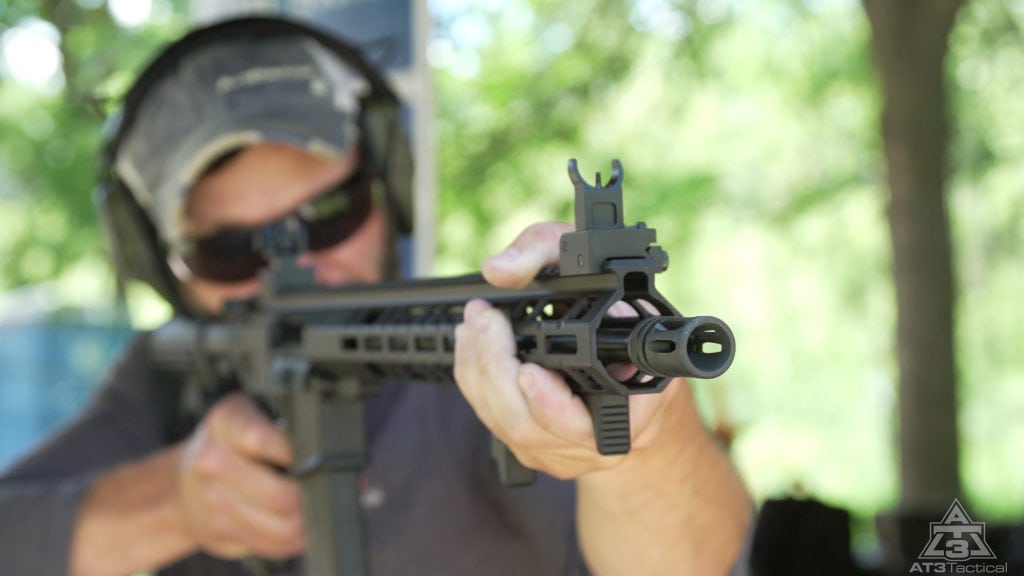
This puts the release button on the left side of the sight (depending on the sight) so a right-handed shooter can deploy the sights with their support hand. All can be done without removing their dominant hand from the firearm.
If you are a left-handed shooter, you may consider a sight with an ambidextrous deployment system like the Magpul MBUS so you can use your offhand to deploy the sights.
Where to Place your Backup Sights?
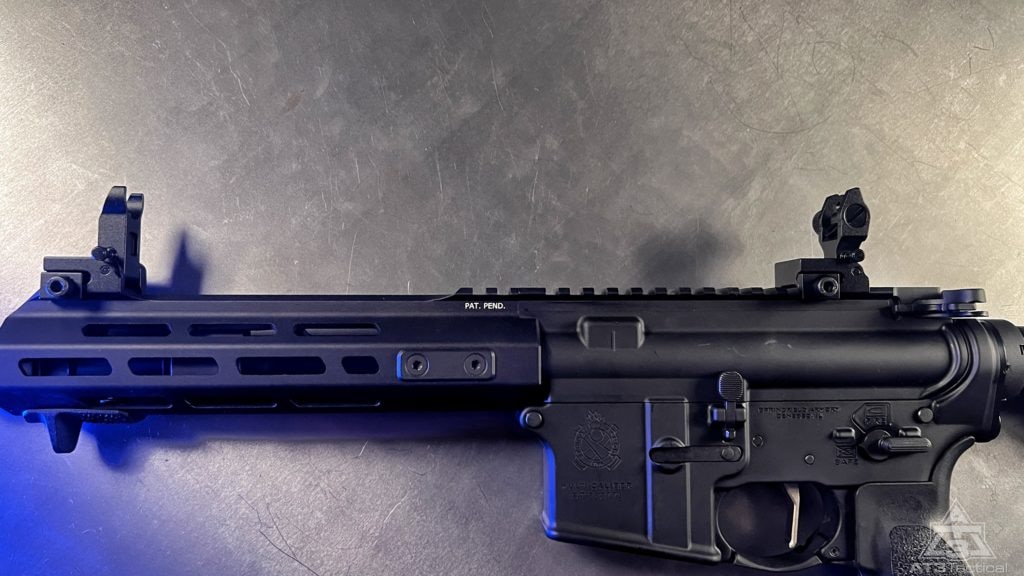
Now that you have determined which orientation to mount your sights, you need to decide where on the firearm to mount them. The best practice is to mount the sights as far apart as possible to increase your sight radius and make you a more accurate shooter.
How to Mount Backup Sights on an AR15
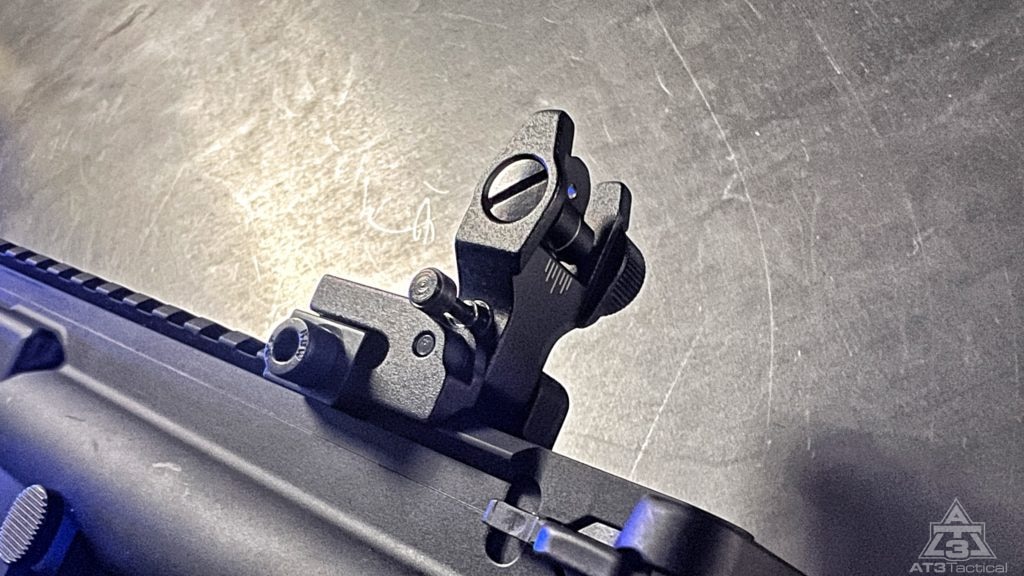
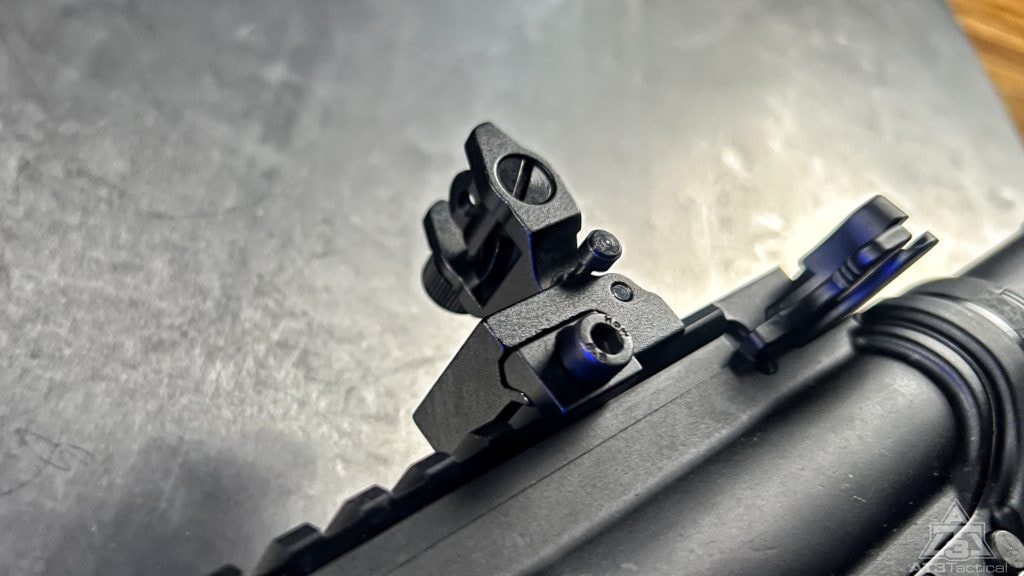
First, loosen the mounting screw and then place the rear sight on the top of your rifle’s receiver.
Place it where you want it and tighten the mounting screw – making sure the mounting screw is in a picatinny slot.
Repeat the same process for the front sight. Then tighten the sights down hard enough so they hold zero under recoil. You can also check the manufacturer’s torque spec and use a torque wrench to tighten them.
Backup Iron Sight Alignment
Now that your sights are mounted, shoulder the rifle to make sure they are aligned and spaced properly. If you have installed spring-assisted flip-up sights, you can test deploying them by pushing the spring-loaded buttons.
To fold the sights back down, simply push the button and fold the sights down with your other hand.
How to Adjust Backup Sights on an AR15
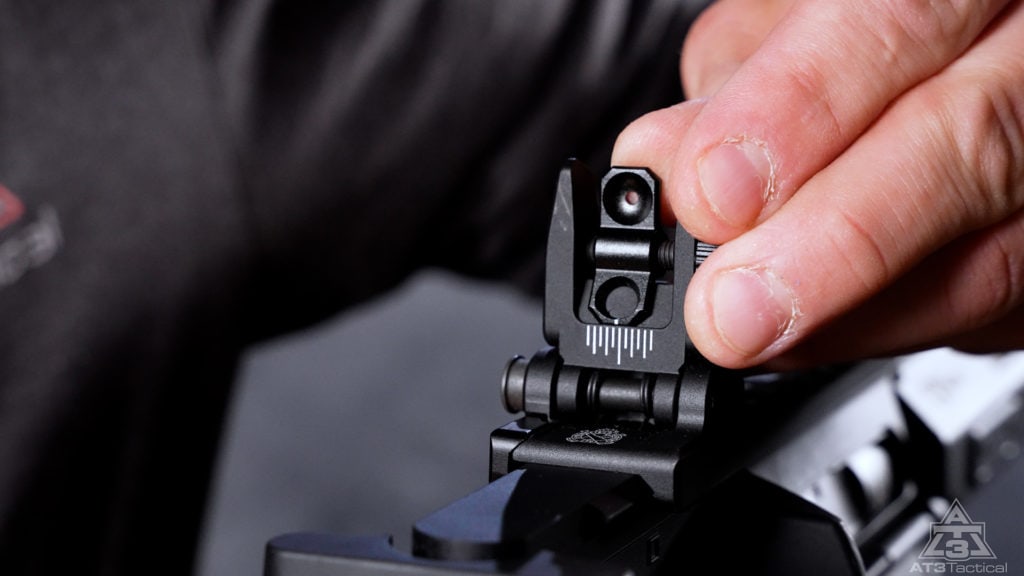
You will now need to zero your new sights. With iron sights on an AR15, usually the rear sight is responsible for windage adjustment (left/right) and the front sight is responsible for elevation adjustment (up/down).
The optimal spot for your front post sight when shooting is up for debate. Some aim directly below the bullseye of your target. Almost as if the front post is holding up the bullseye. This is also known as “dotting the I”. Others like to cover the bullseye with the post tip. The obvious con of this is you cannot see the bullseye. Use your best judgment and sight in accordingly.

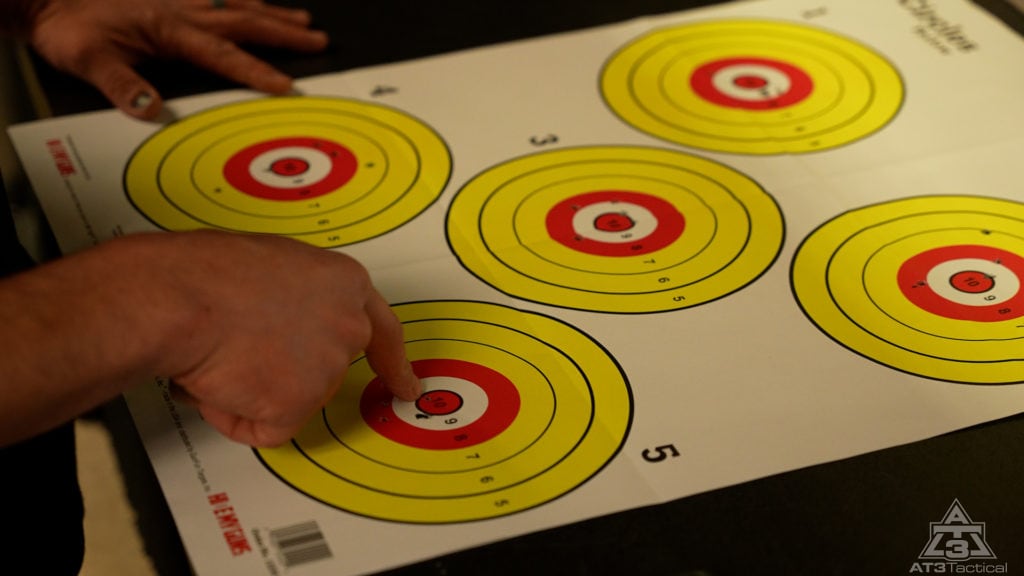
First, we will focus on windage adjustments. Start at 25 yards and take 3 shots to ensure that you are on paper. Make the adjustments to the rear sight to correct left and right misses. If your shots hit to the left of the bullseye, then adjust your rear sight to the left.
If your shots hit to the right of the bullseye, then adjust your sight to the right. Continue to make 3 shot groups and make adjustments until your rounds are hitting directly on, above, or below the bullseye.
Tip to remember: Adjust your rear sight in the direction your hits are off. Hit left? Adjust to the left. This pulls the point of impact in.
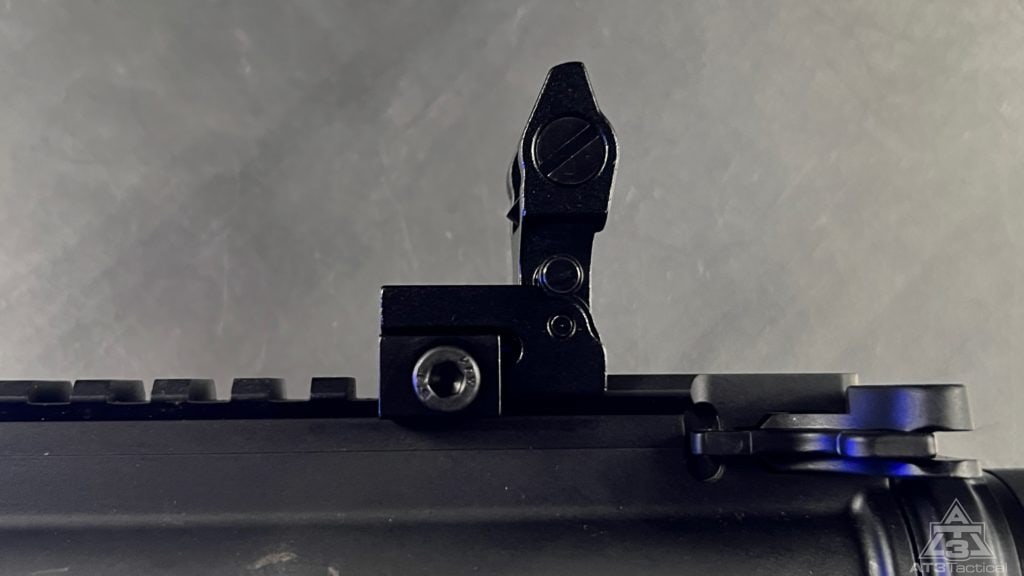
Now you will need to fine-tune the elevation adjustments on your front sight. Unlike the rear sight, the front sight adjustments are reversed. If your rounds are hitting above the bullseye (or high), then you need to raise your front post (rotate counterclockwise). If your rounds are hitting below the bullseye (or low), you need to lower your front post (rotate clockwise).
In order to raise or lower your front post, you will want a front post sight adjustment tool. Some iron sights include these, or you may need to purchase one separately. In an emergency, it’s usually possible to adjust the front sight with the tip of a bullet, or even a pocket knife. Again, make small adjustments until your rounds are hitting the bullseye of your target.
Best Front Sight Tools
If you don’t have one of the fancy gizmo front sights that have built-in adjustments a front sight tool is usually necessary if you don’t want to use ye olde Kentucky Windage (and elevation…). We personally prefer our AT3 Front Sight Tool since it has a side for modern A2 sight posts as well as retro A1. For a good portable on-hand option there is the Wheeler one with its built-in key ring.
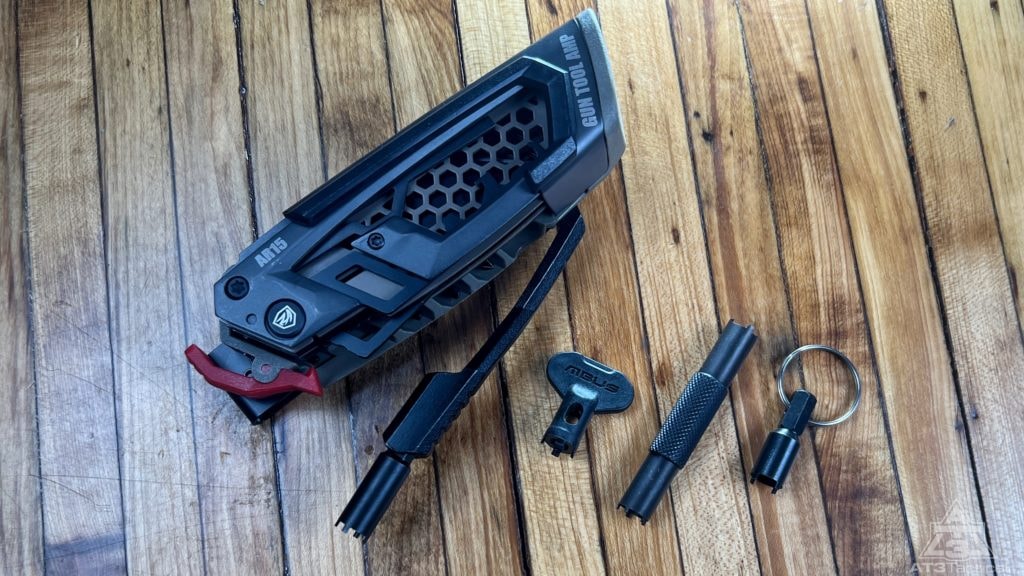
For a little more leverage, Real Avid offers their AMP tool which is more of a multi-tool that includes a front sight tool. For more leverage but minimalist LBE offers a “pencil” style tool. Lastly, it should be mentioned that Magpul’s front sights typically come with a small plastic MBUS tool.
Note: If you are curious or have any issues with adjusting your sights try checking out this FREE Army Service Manual!
Closing Out & Flipping Things Back Down
The biggest thing to keep in mind when sighting in any optic or iron sights is to take your time. Don’t make adjustments after every shot. Go by three-shot groups and see where things average out. Backup iron sights are the reliable wingman your firearm may need. When optics fail, they swoop in to save the day, ensuring you never miss your mark.
We at AT3 Tactical just want to lend our thanks to anyone who tunes in for the AT3 Blog and Youtube Channel. It is much appreciated and we are happy to continue to churn out quality and helpful content. It is an honor to be of service. Please let us know if you have any questions in the comments below. Be safe out there and we will catch you next time!
FAQs
Sight radius is the distance between the front and rear sight. The further apart, the greater potential that a shot may be accurate. The closer together, the greater potential that a shot may be inaccurate.
Basically the closer your front sight is to the target the more precise it can be. If your front sight is closer to your eye, it will cover more of your target. If it is far it will cover less.
Flip Up iron sights can be very accurate. Most AR15 iron sights paired with the right shooter and ammunition are reliable out to distances as far as 500-600 yards. When mounting iron sights ensure they are torqued to the manufacturer’s specifications, quality ammunition is used to sight in, and repeatable results occur with said ammunition.
Backup iron sights are your wingman. They are typically used in tandem with a low-powered optic or red dot. In the event your optic fails your BACKUP iron sights are there to save the day.
If this is a build that is to be used for defense then it is not a bad idea to have a backup form of sight. There may be concerns about adding weight to a gun, so it may be left out if it is a hunting rifle or competition gun. It is a matter of personal preference above all.
One Last Tip
If there’s anyone that knows the AR-15 platform, it’s the US military. As a special offer for our readers, you can get the Official US Army Manual for AR-15/M4/M16 right now – for free. Click here to snag a copy.
Not a gun smith but very familiar wit th at platform this article on bus sights is very simple and understanding job well done
This was a great read. I really appreciate the insight and time it takes to put this out here for us.
U.S Army combat vet. I like the AT3 brand iron sights. Not exactly the same as my service rifle but makes me remember AIT Fondly. Not the most “high speed” light weight, plastic but as a fall back option these will last forever.
What’s the torque pound on the screws that holds the sights in place on the rail.
Depends on manufacturer of the sight.
Thank yall for the book,very kind of yall and the possible coupons I mite receive.
Good easy to follow instructions. Thank you